Dry Verge Systems
- Bestseller

- Bestseller


Frequently Asked Questions
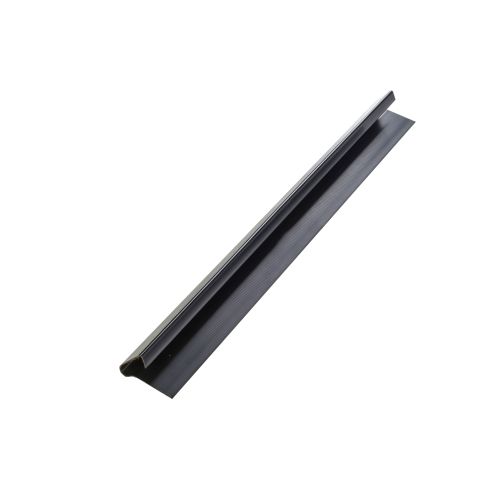
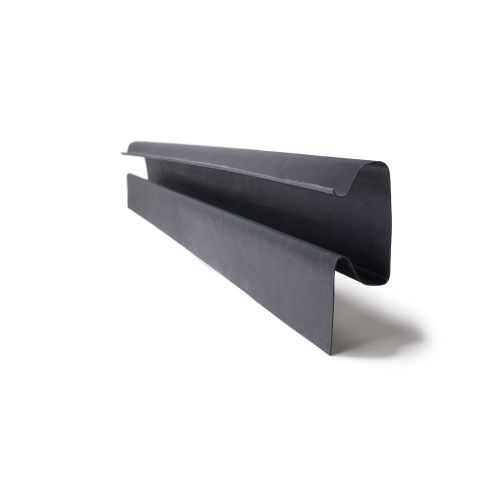
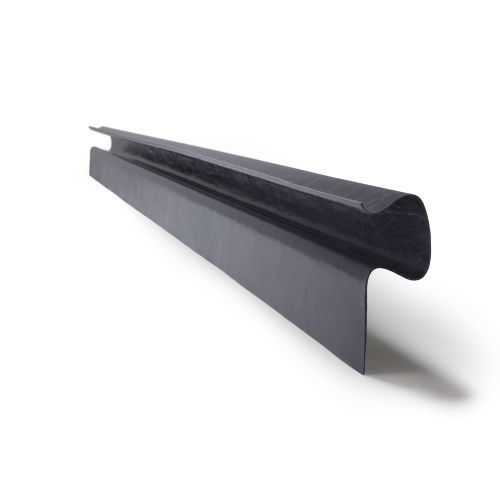
What is a Dry Verge?
Dry verge systems are an incredibly popular alternative to traditional wet verge systems, using innovative modern plastics instead of mortar. These new materials not only do the job better, but they have very few of the disadvantages of mortar. UPVC and GRP plastics are 100% waterproof and will repel any pests trying to invade your roof space. They also do not experience thermal movement, and therefore won’t suffer cracks. Dry verge systems are very light and easy for homeowners to install and require virtually zero maintenance. In contrast, mortar verges are highly susceptible to damage and wear over time, requiring maintenance and repointing.
How Much Do Dry Verges Cost?
If you’re refurbishing an existing roof, it could be cheaper to repoint the mortar instead of replacing it with a dry verge system. However, when you consider future maintenance costs in terms of time and money, dry verges win every time. Once installed, all they’ll need is a quick once-over and a clean to remove any debris to keep them in top condition for years.
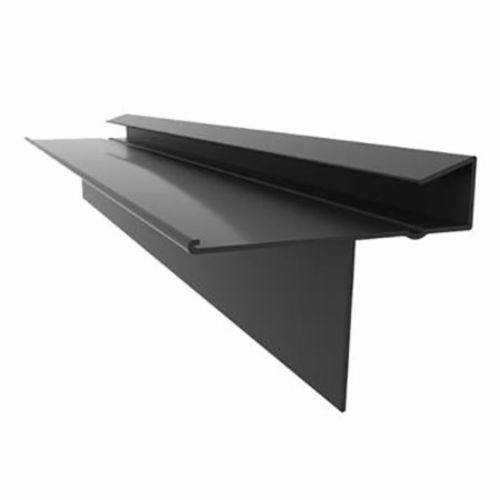
How Much Should A Dry Verge Overhang?
The exact amount of overhang required depends on the materials used in your roof tiles, roof battens and so on. A dry verge shouldn’t hang more than 40mm over the side however, as this can make the verges more susceptible to being damaged by high winds. We’d recommend an overhang of roughly 25-30mm, however you should always consult the manufacturer’s recommendations to be certain.
How Do You Fit a Dry Verge?
Just how simple they are for anyone to install, whether they’re a professional or a handy homeowner is one of the many benefits of dry verge systems. Of course, each system will be slightly different so you should always follow instructions from the manufacturer, but below you’ll find a handy guide outlining the main steps.
- Inspect the tiling battens to make sure they aren’t rotting or damaged. If they are, you could fit a batten strip along the verge.
- If required, install the underlay and ensure that the battens extend beyond the gable wall evenly by between 20 and 40 millimetres.
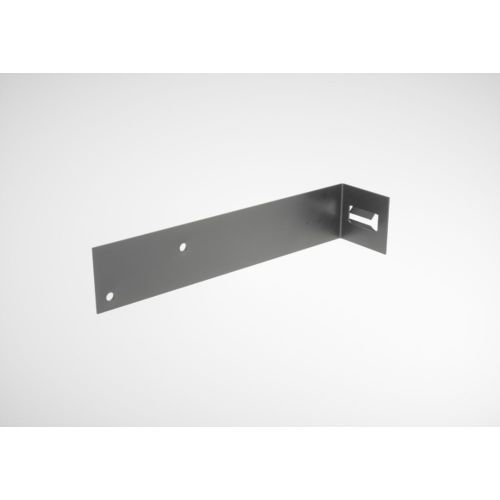
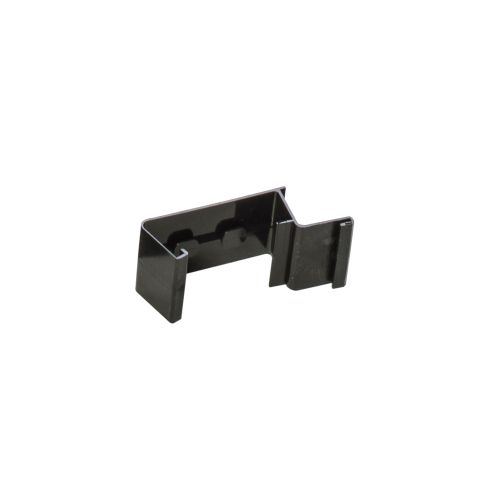
- Fix batten end clips to each batten to add a secure place to fix each verge unit.
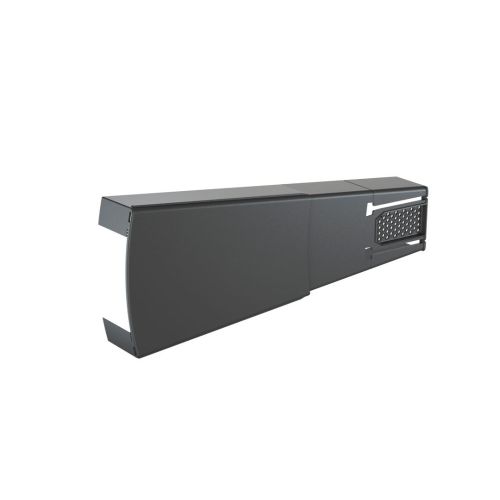
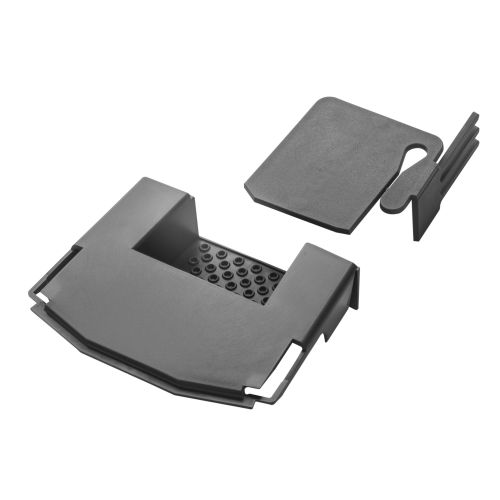
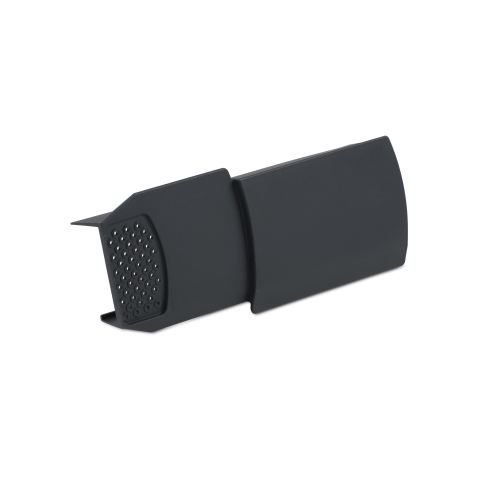
- Fit the eaves closure unit over the first tile. This will help to act as a secure unit for eaves clips.
- Now, fit the eaves closure unit onto the barge board or fascia board.
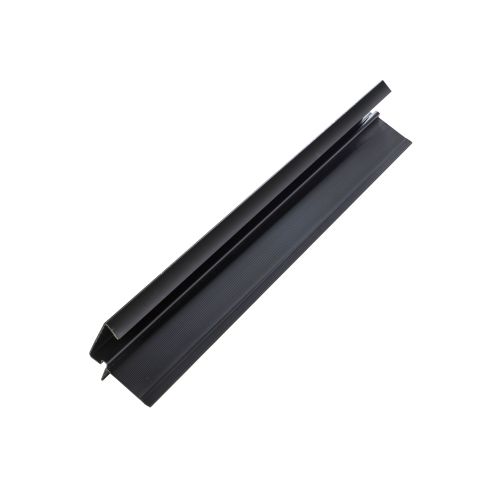
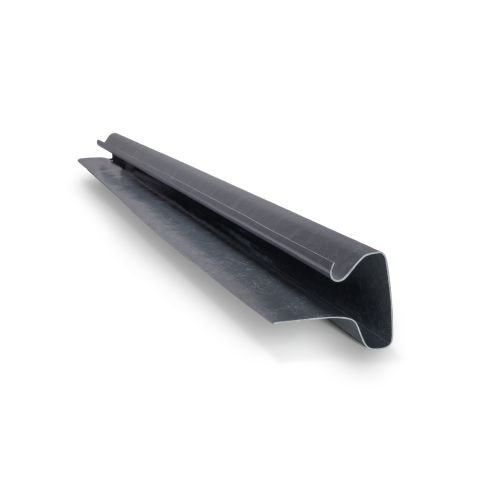
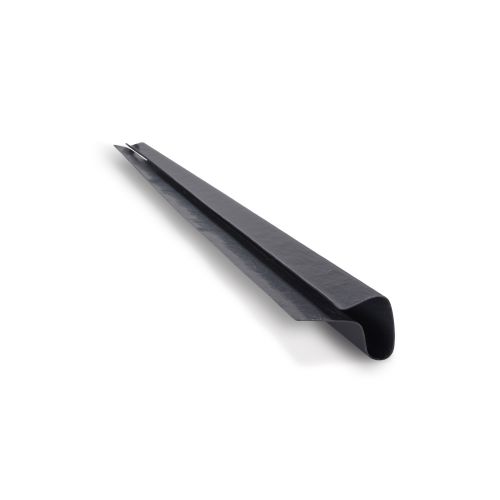
- Clip the first verge unit over the eaves closure unit, and slide it along until it lines up with the edge of the roof tile. Then, nail the top of the unit onto the batten end clip.
- Position the second verge unit so it can clip or slot into the first, nailing the top of this second unit onto the batten end clip.
- Repeat the above until you’ve reached the apex of your roof.
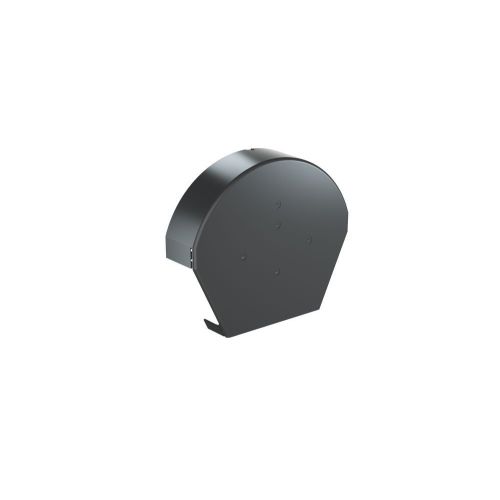
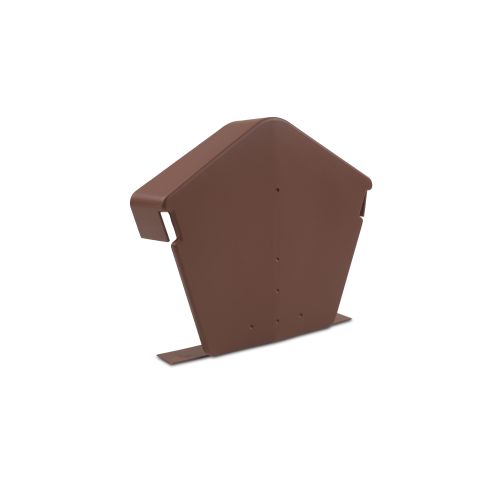
- Finish off the system using an end cap or block end.
- Enjoy the clean, modern finish you’ve just given your roof!