How Do I Install a Continuous Dry Verge?
If you have been researching how to build a roof – whether it be for a shed, a garage, or even an extension to your home, no doubt you will have come across posts, articles and instructional videos that bring up the subject of ‘continuous dry verges’. If you’re not well-versed in DIY or building construction, then the chances are you won’t be too familiar with these additions.
This post has been devised to give you a better idea about what a dry verge is and how it can benefit your project, as well as a step-by-step guide on how to securely install one onto your roof. We will look at what you will need, and how best to carry out the process quickly and efficiently. So, want to know more about continuous dry verge installation? Read on to find out more.
What is a Continuous Dry Verge?
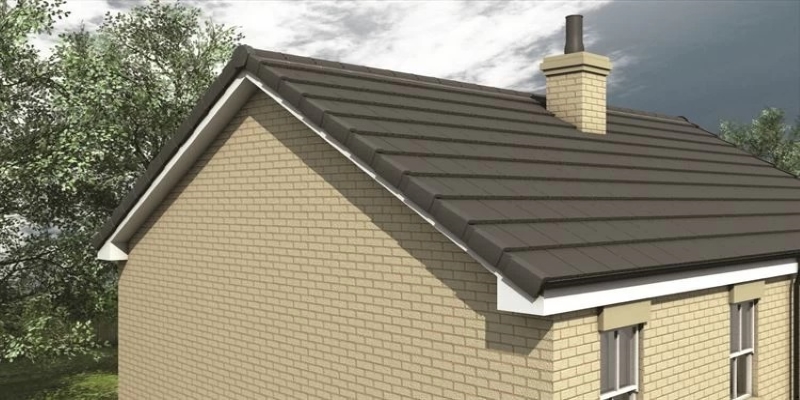
A continuous dry verge runs down the gable end of your roof. It is one of several types of ‘verge’ products that can be purchased, with verge tiles being another more traditional alternative. However, what sets continuous dry verges apart is their smooth, gapless design that can potentially run down the entire length of your verge without interruption.
You may find that certain continuous dry verge pieces are only compatible with certain types of tiles, such as synthetic tiles. To be sure of compatibility, it is always best to buy all of your roofing materials – accessories included – from as few different manufacturers as possible. This prevents your building from being delayed when you realise not all of your purchased products are compatible.
Why Do I Need a Dry Verge?
Verge pieces – continuous or otherwise – are very important to your roof. Their primary functions are to help secure your tiles by connecting to the tiling battens as well as helping to keep your roofing underlay fixed in place. Many verges have also been designed to increase the visual appeal of your finished roof.
In addition to this, Continuous verge pieces possess the added benefit of spanning across the entire length of the verge section of your roof. This helps to minimise the chances of leaking and mould growth underneath and around this part of your roof. One of the most popular examples of continuous dry verge – the ‘T-Verge’ – adopts a design that actively encourages the water to flow down to the gutters at the base of your roof.
How Do I Install a Dry Verge?
Want to install your dry verge system in just 10 easy steps? In order to do so, you will need:
- Your chosen brand/make of dry verge
- A drill and/or hammer
- Nails and/or screws
- A dry verge connector piece and other accessories (optional)
- A saw
- Heavy-duty scissors
- Ensure that the top of your gable wall is as level as can be, while also taking care to make sure it is free from any potential obstructions. Your general work surface should be clear from dirt, debris, and any unnecessary tools.
- Also ensure that your roofing underlay is carried across the cavity and that it overhangs your gable wall by at least 50mm.
- Cut your continuous dry verge to the required length. Make sure that it is able to reach the apex of the ridge, while also keeping it around 150mm longer than the rafter.
- Get your dry verge strip positioned into place, with the vertical section placed firmly against the gable brickwork or bargeboards.
- Use screws or nails to drill and fix the horizontal flange to the brickwork or end rafter of your gable. For reliable securing, a fixing every metre or so should suffice.
- Cut the strip around 400mm short of the eaves.
- Apply an optional strip connector by sliding it onto the end of the cut strip and mechanically fixing in place. While not always necessary, these accessory pieces can prove ideal for providing that little extra help in getting rainwater from your roof to your guttering. Some makes can also accommodate for a roof pitch change should one be present near where the guttering is placed on your roof.
- Cut away a section of the horizontal flange from the lower end of your roof (or the strip connector if you’ve used one) to allow for the fitting of an underlay support tray at the eaves of your roof.
- Install your tiling battens, taking care to position them flush to the lip of the drainage channel. If you are retrofitting, you should ensure the battens finish flush with the outer face of the brickwork or bargeboard.
- Once you are sure your verge is securely fixed, you can move on to the next stage of your roof build, tiling.
Have More Questions About Dry Verges?
With this, your dry verge should be installed, and you can move on to the next stage in the construction of your roof. Dry verges usually work alongside tiles – specifically, they are usually manufactured as an accessory piece to a specific brand of tile. So, if you want to purchase a dry verge and don’t know where to look, start by searching amongst the collections of tiles you are planning on using.
We stock a wide range of dry verges, all of different colours, shapes, and styles, so feel free to browse our collections if you are thinking of adding them to your project. And don’t forget – if you have any more questions about dry verges, don’t hesitate to contact our stellar customer support team on 01295 565565 or via our online chat below. We’ll be more than happy to answer any questions or queries you may have.