How to Replace Soffit and Fascia Boards
Many different parts of your roof may need replacing at one point or another. This can happen at any time of the year, so it’s best to be prepared. Soffit and fascia boards are a vital part of protecting your roof space, and maintaining a clean, professional aesthetic. If your soffit and fascia boards need replacing, it’s vital to get it done as soon as possible.
Don’t worry, replacing soffit and fascia boards is actually rather simple, and can be done by anyone with rudimentary DIY knowledge and experience. We’re going to go into the steps below, along with pitfalls, and things to look out for.
What Are Soffit and Fascia Boards?
Many homeowners confuse the two, but the difference between them is quite clear. Both soffit and fascia boards act as cladding for the overhang of your roof. Whilst fascia boards face outwards, the soffit board is tucked underneath, protecting the underside of your roofline. Incidentally, the overhang is also where guttering is usually placed. Fascia boards are fixed directly onto the end of the roof trusses, whereas soffit boards are connected to the underside of the timber.
Before You Begin
There are a few things to remember before you get started replacing soffit and fascia boards. As always, safety should be your primary concern. Whenever you work on a roofing project, ensure that you wear appropriate safety gear such as gloves, roofing boots, and coveralls. In addition to this, using a sturdy ladder with the help of a friend to hold it steady is vital.
Replacing Soffit and Fascia Boards
Once you’re safe and ready to tackle the job, it’s time to move onto the first steps.
Remove Older Boards
The first thing to do is remove the bottom course of roof tiles. Do not dispose of them, as you can simply put them back into place later. If necessary, you could also use a Stanley knife to cut the roof felt and pull it back a few inches to remove the guttering. Now, using a pry bar or similar tool, pull away the old soffit and fascia boards. If they’re fixed using sealant, this can generally be broken with a sharp knife. You should now have exposed the rafters, and this is a good opportunity for you to check for rot, or any other signs of damage. Any rot you detect should be cut away before moving onto the next step.
Fixing Soffit Boards
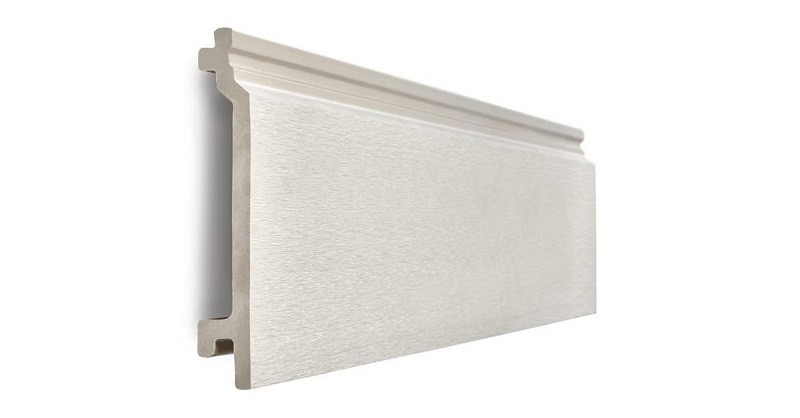
Nowadays, most soffit boards are made from UPVC. This is thanks to the material’s unbeatable combination of value for money, longevity, and ability to resist harsh weather far better than traditional timber. Soffit boards should be fixed to the underside of your timber rafter ends. Some will come with fixings provided, or have specialised fixings available to purchase separately, while others can be secured using simple steel nails. Ensure that any gaps between soffit boards are closed with timber and ensure that the back of your soffit boards are resting against the top of the wall.
Fixing Fascia Boards
Once your new soffit boards are in place, it’s time to fit the fascia boards. Most fascia boards are also made from UPVC and can be installed in a similar fashion to soffits. Use at least two nails to prevent any buckling or movement, and so they’re secure enough to hold the weight of any roof tiles, guttering, and anything else above.
If you have windows nearby, test them to make sure they can open and close properly once your soffit and fascia boards have been installed. If they can’t, you will need to trim back the rafters so your windows can operate fully.
Once this is complete, you may wish to fit an eaves vent strip to improve the level of ventilation in your roof, which is vital if your home suffers from issues such as condensation.
Guttering and Felt
When starting on the guttering, first screw any brackets into the fascia board. Consider using a spirit level to ensure perfect alignment so that water flows through your guttering system correctly. Space these brackets around 80cm apart for maximum strength. Once the brackets are in place, you can re-add your guttering. Once your gutters have been reassembled, we’d recommend testing it out to ensure all is working again.
Before you replace the roof tiles, do a check for any rotting roofing felt at the edges closest to the guttering. If you notice any rot, consider using eaves felt trays are tucked under existing felt and overlap into the guttering. The result is a rigid, reliable felt alternative that won’t rot anywhere near as easily.
Once everything else is completed, put your roof tiles back into place and you’re done!
Conclusion
You should now have a smart roofline that will stand the tests of time. If you experience any issues or if you’ve got any more questions, be sure to get in touch with our award-winning customer service team. They’re on hand to answer any queries you may have. Call them on 01295 565 565, email [email protected], or use our handy online live chat below.