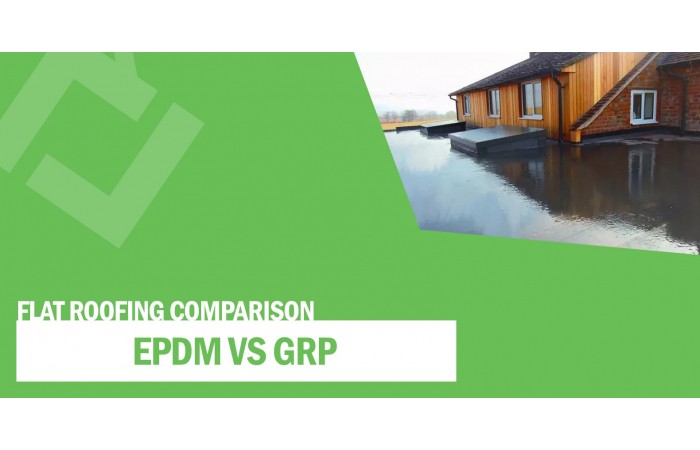
How to Install An EPDM Roof
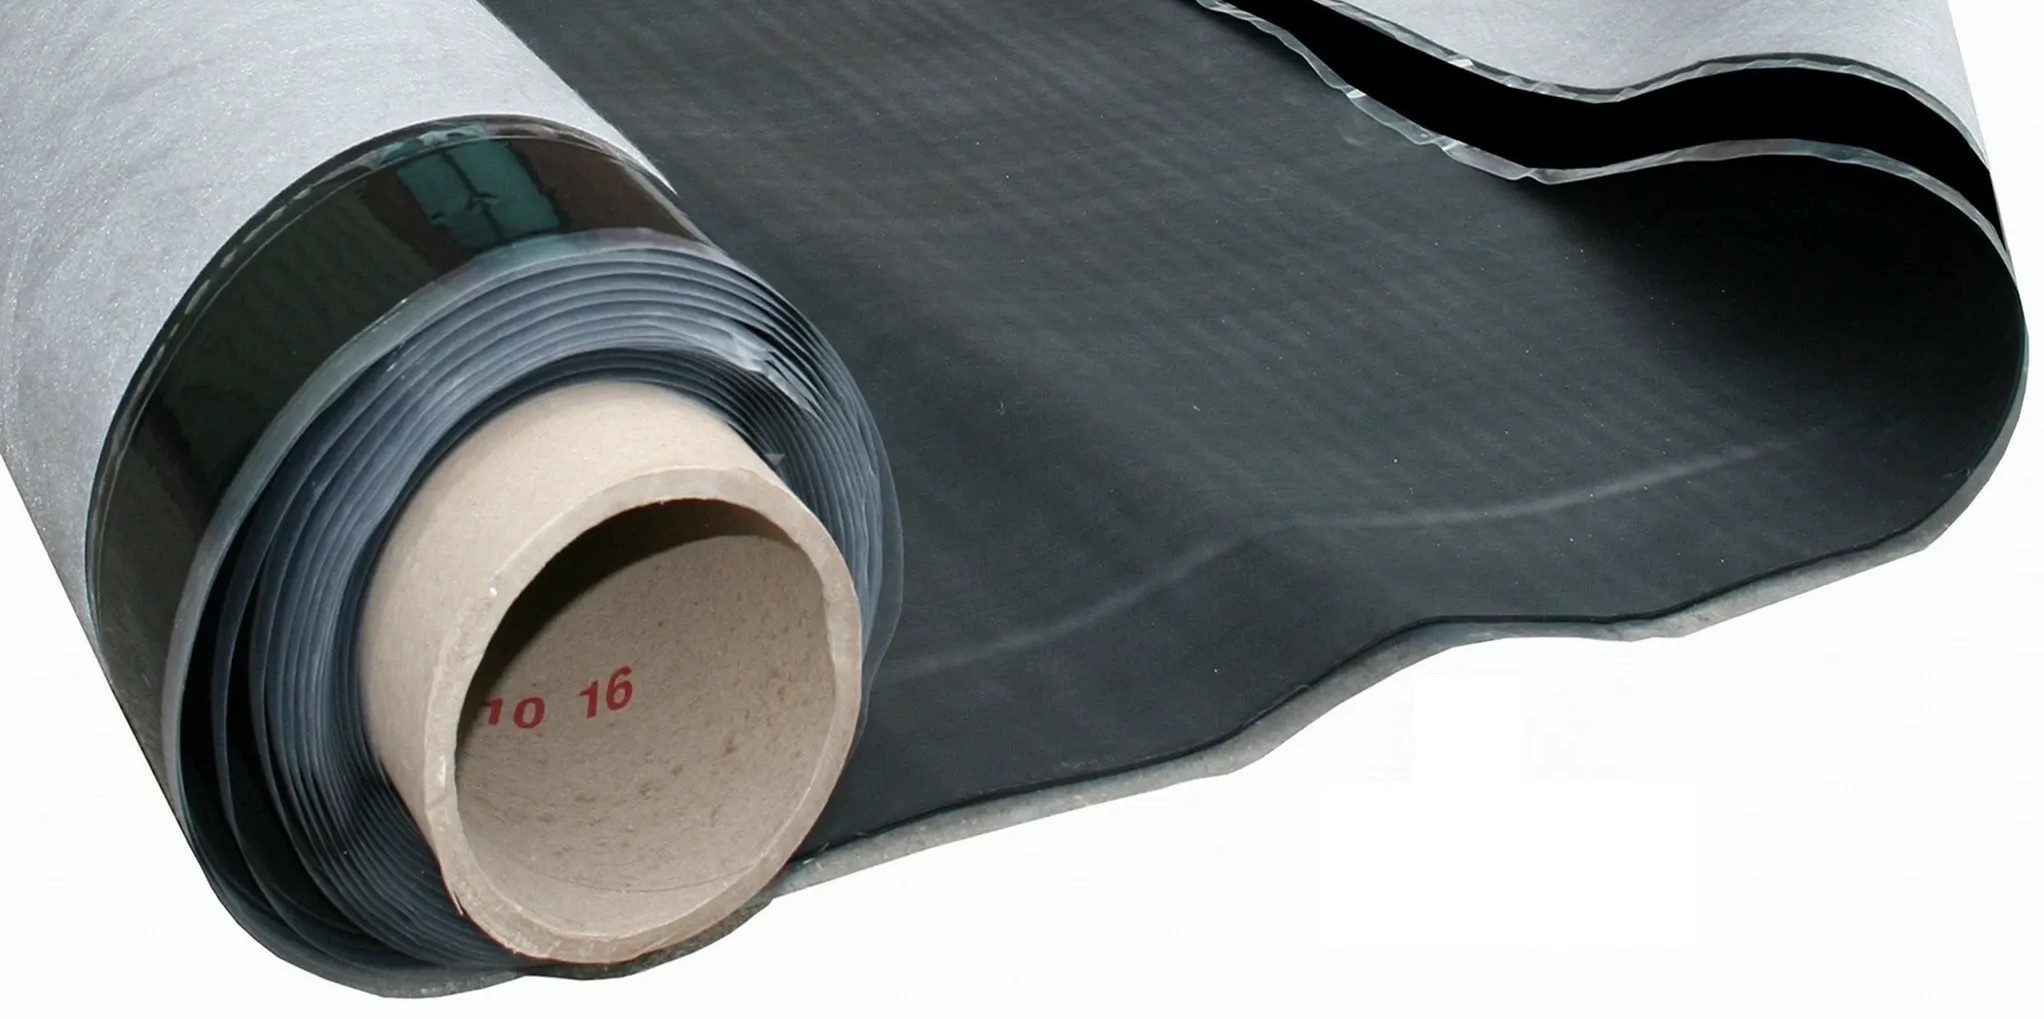
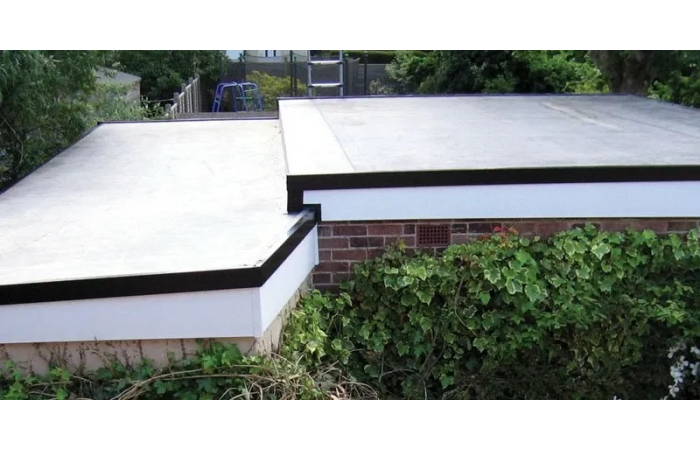
EPDM, also known as ethylene propylene diene monomer, is a synthetic rubber material, commonly used in flat roofing construction. It is popular throughout the roofing industry for its durability, cost-effectiveness, practicality and long-lasting resilience. EPDM membranes are installable on a wide variety of buildings and can exceed an impressive lifespan of up to 50 years with correct installation and care. So, what is the correct way of installing an EPDM roof?
In this article, we bring you a step-by-step guide of how to install an EPDM roof with all of the materials and tools needed as well as health & safety guidelines to ensure you stay safe during the fitting process.
What Will I Need?
To install your EPDM roof you will need:
- EPDM rubber membrane
- Broom
- Soft brush
- Angle grinder/mortar chisel
- Water Based Deck Adhesive
- 9” roller
- Contact adhesive
- Sharp knife
- EPDM tape
- Paint brush
- EPDM Rubber Primer
- Penny roller
- Masonry drill
- Mastic
- Hammer
Health & Safety
When working on any roof structure, it is vital to prioritise the safety and security of everyone involved. Here are a few safety tips and guidelines to ensure you can stay as safe as possible when installing your EPDM roof.
- Clear all debris & tripping hazards – Not only can leftover debris affect the performance of your EPDM roof, but it can also be a major hazard for tripping and falling. Keep the roof space as clear as possible when working.
- Keep the weather in mind – The weather especially in the UK can be very unpredictable. It is far safer to work up on a roof on a dry and mild day as snow, rain and ice can make for a very slippery surface. If you are lucky enough to pick a warm, sunny day, flat roofs can get very warm, so ensure appropriate sun protection is warm and stay hydrated when working.
- Don’t turn your back – A key rule to working up on a flat roof, is to never turn your back on the roof’s edge. If possible, run safety tape to indicate safe walkways and construct barriers to block roof hatches or large exposed openings.
- Appropriate workwear – It is so important to dress appropriately when working up on a roof. Put on a pair of sturdy work shoes with good grip and take advantage of gloves, goggles, hard hats etc.
How to Install An EPDM Roof: Step-by-Step
1. Surface Cleaning & Preparation
To achieve optimum results for your EPDM roof, you must first ensure that the roof space is correctly prepared. Brush down the roof surface using a soft brush to remove all dirt, grease, dust, debris and contaminants. Also remove any existing coverings such as asphalt layers. You need to work through this step thoroughly as any leftover waste will have an impact on the quality and ease of your EPDM application.
The roof will also need to be completely dry as the product will not adhere to wet surfaces. Any moisture or water trapped beneath is likely to vaporise which will significantly hinder the performance of your EPDM roofing system.
Carry out a thorough inspection to locate any cracks or gaps in the roof. The EPDM rubber will not adhere to any gaps larger than a quarter of an inch in size, so fill these in using wood strips.
Later on in the installation process, wall trim flashing will be installed. To prepare for this, chase out the brick mortar joint using an angle grinder or mortar chisel.
2. Positioning and Resting
Now it is time to unfold and lay the EPDM rubber over the roof surface. Remember the EPDM membrane should cover the roof completely with an additional thick overhang for the adjacent walls and roof edge. At this stage, you should also install the drip batten and drip back trim along the roof’s edge to allow for effective rainwater drainage.
Before securing with adhesive, you need to leave the membrane for a 30 minute ‘resting time’ which allows the rubber to expand naturally. By allowing this phase of rest, the EPDM will install smoothly with no wrinkles.
3. Apply Water Based Adhesive
Once the 30 minutes is up, you can now begin installation. Fold the EPDM membrane back carefully to expose half of the roof deck. Apply a water based deck adhesive using a 9” roller, ensuring that the glue is spread evenly with no visible lumps.
When applying the adhesive, leave a 150mm space around the perimeter of the deck. Contact adhesive will later be applied to this section of the roof. Roll the EPDM back into position whilst the adhesive is still wet to secure.
After refolding, use a broom to sweep across the EPDM. This will remove any trapped air and help to create a smooth and secure bond.
4. Apply Contact Adhesive
Fold back the un-adhered EPDM on the 150mm perimeter section that was previously left clear. Apply a thin coat of contact adhesive to this space as well as any vertical upstands. Apply the adhesive to both the deck and the back of the EPDM membrane.
Before re-folding, the contact adhesive should be touch-dry on the surface with no puddles of glue. Trim excess EPDM membrane from the walls and upstands after application.
5. EPDM Tape
You can now use specialist EPDM tape to waterproof profiles such as external roof corners. Cut the EPDM tape to size, allowing an appropriate upstand height with an additional 75mm on the length and 150mm on the width.
Evenly apply a coat of EPDM rubber primer, slightly exceeding the area for tape application. Allow the primer to touch dry. Press the EPDM tape down onto the surface, applying pressure to bond, then stretch to secure. Use a penny roller to go over the EPDM tape, applying light pressure to ensure it has fully bonded to the surfaces.
6. Installing Wall Trim
Now it is time to install the wall trim. Drill both the wall trim and wall using a masonry drill, then securely fit a RawlPlug and fastener. Carefully apply mastic to the wall trim and wall chase out.
7. Finishing the Edges
Before installing edge trims, fold the EPDM membrane by pinching to form a ‘pigs ear’, then fold onto the side of the roof. Position and install the trim corner, then secure the plastic trim kerb edge, cutting to the appropriate length. Use snap clips to secure.
Install the trim drip/gutter front trim, then trim any excess EPDM membrane.
8. Finished!
And now you are finished! Your brand new EPDM rubber roof is installed and can last for up to 50 years with proper care. Here are a few handy tips to help maximise the lifespan of your new roof:
- Inspections – Inspecting your roof on a semi-regular basis is a great way of spotting any early damage. Check for cracks, splits, loose sections and weak areas. It is a good idea to give your EPDM roof a thorough check over after experiencing very adverse weather conditions and storms.
- Cleaning – Keep your EPDM roof clear of debris build-up to minimise the risk of damage. Gently sweep or rinse off dirt and grime, then use a roof cleaner and mop/soft bristle brush to give the surface a proper clean. Be careful not to use high pressurised water from hoses or jet washes as this can cause damage to the membrane.
- Repairs – Repair any splits, cracks, holes etc as soon as you can after locating them. Ignoring small damages can lead to much larger structural problems that are harder and more expensive to fix in the future.
To Conclude
If this post has inspired you to install your very own EPDM roof, then take a look at our high-quality selection of EPDM Rubber Membranes available at Roofing Megastore now. We stock a variety of sizes and types from trusted brands to ensure you achieve top level results for your roof.
For any further questions or queries, don’t hesitate to get in touch with our friendly customer service team who will be more than happy to help. Simply give them a call on 01295 565565, email [email protected], or leave a message in our handy live chat.