How to Cut Insulation Safely
Insulation is one of the bigger cogs in the machine that protects your home. Preventing heat from escaping so you can enjoy pleasant temperatures all year round, add to this, the superb savings on your energy bills (up to £215 a year) and you’ll find it to be an essential part of any loft.
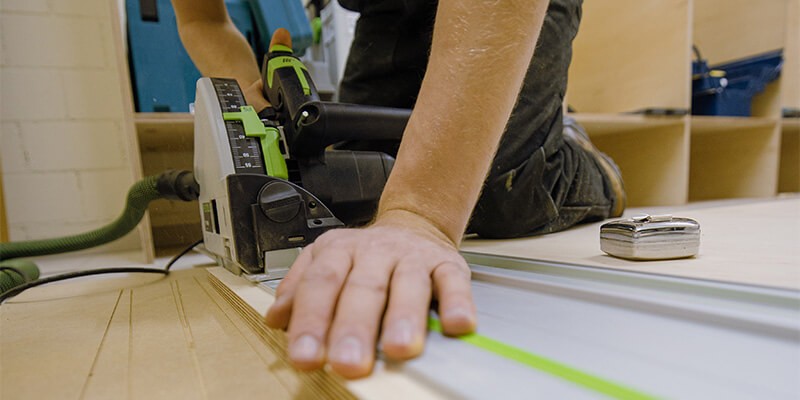
Installing it, however, often requires a fair bit of work, and whilst many can be fit yourself few can be done so without first being cut to size. Different materials, however, will need different tools as well as a different methods of cutting to ensure clean, professional results.
Dangers of Fibreglass & Mineral Wool Insulation
Whilst many types of insulation can be handled safely, others can be toxic. Fibreglass and mineral wool in particular are irritants, with direct contact or breathing in the airborne dust it produces causing temporary itching, coughing and wheezing. In serious cases, when the lungs are exposed to particles, there can even be severe respiratory risks. All the more important then, that appropriate safety measures are taken.
This means suitable safety gear, working with windows opening and temporarily closing up any open vents to prevent particulates from moving around your home. You will also want to make sure you clean the area afterwards with a hoover rather than a broom – disposing of any excess dust soon after. Finally, we would also suggest washing and changing your clothes when the work is complete. Again, to prevent any particulate spread.
How to Cut Mineral Wool, Fibreglass & Sheep’s Wool
What You’ll Need
- Solid Board
- Wooden 2 x 4
- Marker Pen
- Tape Measure
- Dust Mask & Goggles
- N95 Respirator (Mineral Wool)
- Work Gloves & Protective Clothing
- Disposable Utility Knife (Fibreglass)
- Drywall Knife (Mineral Wool)
- Insulation Saw (Sheep’s Wool)
Cutting Fibre Glass
Before starting, the first thing to do is to make sure you're safe. That means covering both your eyes, mouth, hands and any other exposed skin that could come into contact with the fibreglass. Once you’ve covered up, the next step is to measure and mark your roll or batt. Take the time to double-check check all your measurements are accurate and that your markings a clear.
Next, put your insulation over a solid board to keep it steady (kraft paper side down). You can then take your 2x4 and press it against the line you have marked compressing the insulation down as much as possible. Use a utility knife and start cutting from the opposite side to you, pressing firmly down whilst keeping the knife at a 45° angle. Don’t attempt to saw at the insulation, this will just spread particles around. Instead, try and cut it in one fluid motion before going back to any areas that weren’t fully cut.
Cutting Mineral Wool
Again, the first thing to do is to take all suitable safety precautions. As far as mineral wool goes, that means an N95 respirator mask, full upper body coverings, gloves and eye protection. Kited up, you should then roll out your insulation across a solid board to better avoid damage to your floors whilst cutting.
A drywall knife, bread knife or similarly serrated-edged blade is the ideal tool for cutting here. As with the above, press firmly against the insulation whilst cutting – making sure to take the time to ensure you stay close to any line you have measured and marked.
Cutting Sheep’s Wool
Unlike Mineral and fibreglass, sheep’s wool is safe to handle – requiring no specialist safety equipment to cut. This being the case, you can take your time to measure and mark the materials carefully before rolling them out over a solid board to cut.
An insulation saw is best used in these cases. Simply roll your insulation tightly along its width, place it over the board, hold it firmly in place and saw it. This will help ensure clean and accurate cuts.
How to Cut PIR Boards
What You’ll Need
- Tape Measure
- Straight Edge / 2x4
- Stanley Knife
- Jigsaw or Handsaw
Lightweight and easy-to-handle PIR boards are among the easiest cut, though methods can vary depending on thickness. With boards between 30 – 50mm, a Stanley knife is the best bet, offering clean cuts with limited mess.
First, measure the area that needs to be cut and press the metal tip of your tape measure into the board. This will provide a clear mark, and eliminate the need for a marker pen or scoring knife. Make this mark on both ends of the board and then line up with your straight edge.
When cutting the trick is to score gently at first to make sure you get the right line. Once this is done, you can go back across at the full depth. Finally, line up and apply some pressure to one side of the board. A light tap should be all it needs to break away, leaving you with two clean-cut pieces.
When cutting boards with a thickness greater than 50mm, you have a couple of choices. First, you can use a handsaw alongside a 2x4 timber. Cutting at a 90° angle against the timber, taking it slow and running the saw along your cutting line should get the job done, though there are more efficient methods.
This would be to use a Jigsaw. Once measured and marked, simply run the jigsaw along the line, taking care to keep the line straight. Be aware, however, that these tools have a reputation for getting quite hot and that, if not held firmly, can move slightly during the cut. With that being the case, we would always recommend taking a practice cut with any waste material before moving on to your PIR.
How to Cut MultiFoil
What You’ll Need
- Tape Measure
- Marker Pen
- Straight Edge
- Cutting knife / MultiFoil Scissors / Electric Cutting Tool
Like PIR, multifoil insulation is an easy-to-handle material, making cutting a far quicker and simpler process. Once you’ve measured and marked your cutting line, a simple pair of multifoil scissors cutting alongside a straight edge will make short work of most foils.
We advise pressing firmly down on the materials throughout the cut to prevent the scissors from veering off course. For those working with MultiFoil regularly, you may also want to invest in an electrical cutting tool.
How to Cut Rockwool
What You’ll Need
- Solid Board
- Wooden 2 x 4 or Straight Edge
- Marker Pen
- Tape Measure
- N95 Respirator & Goggles
- Work Gloves & Protective Clothing
- Serrated Knife
As with Mineral Wool, exposure to Rockwool can irritate the skin, eyes and respiratory tract. This means, as you would have guessed, all appropriate safety gear needs to be worn before handling the materials including masks, goggles, gloves and protective clothing to cover any exposed skin. We also recommend washing after the work is complete and changing clothes as an added precaution.
Other than this, Rockwool is cut in much the same way as other, similar, insulation. Against a solid board, along a straight edge and with a suitable serrated knife. Make sure to measure and mark before cutting and hold the material firmly whilst working.
You will also want to ensure good ventilation by opening doors/windows and closing off any open vents to prevent particulates from travelling. Once finished, remember to clean the area with a hoover and dispose of any excess dust.
Any Questions?
Whether you have any queries or concerns working with insulation or need some advice picking out the best product for your next project, our award-winning customer service team is here to help. Simply call us on 01295 565 565 or get in touch using the chat box below.