How to Build a Decking Subframe for Composite Decking Boards

Before you can start laying your composite decking, you first need to create a stable subframe. This will be the key to long-lasting decking and will be, if not built right, the first thing to cause you problems down the road.
To ensure your sub-frame won’t let you down you’ll need to make sure you source yourself the right, high-quality materials and that those materials are set in the right foundation – whether that be on the ground or, as will be in the case in this guide, on adjustable pedestals.
What Should My Frame Be Made Of?
There are quite a few options of hardwearing and low-maintenance materials to make your subframe out of though, for composite decking specifically, we would recommend a similar compost material.
Triton’s Decking Subframe, in particular, is a great choice. Manufactured from eco-friendly materials and robust enough to resist algae growth, rotting, splintering and warping across the long term. Other options include Envirobuild’s Manticore range of plastic lumber. Similar to the above, these battens boast an extended lifespan and extraordinary resistance to rot.
Installing a Decking Subframe on a Hard Surface
Adjustable pedestals make the installation of a subframe a simple task. In the case of installing frames onto concrete or other similar surfaces. First, prepare your area by making sure that ground is sound, stable and flat.
Thanks to the adjustable pedestals it is possible to level off your decking on a sloped surface, but still make sure that the pedestal can rest securely on the foundation.
If you are looking to build your deck in an area of excessive water build-up, we would also suggest leaving a large gap between your joists and foundation. Around 90mm should suffice to improve ventilation and drainage.
Laying Your Pedestals
Once you have confirmed that your foundation is sound and have marked out the area for your decking it’s time to take out the pedestal. Work from the outside of the area in, making sure you position them in a grid pattern that will allow each of your joists to be supported in a minimum of 3 places.
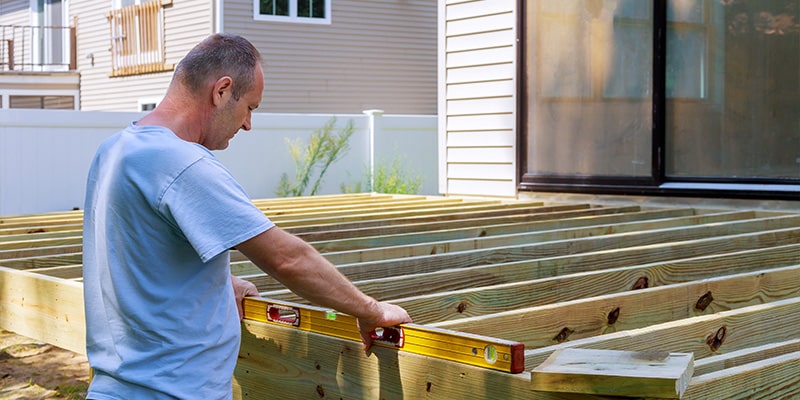
If you are working on a slope, make sure to use a spirit level to double-check that all of your pedestals are even.
Laying your Joists
Again, starting from the edge of your frame place your cut bearers on the top of your pedestals. In most cases, bearers should be supported in 3 places with the joists centres no greater than 400mm apart lengthways and 300mm diagonally (we suggest asking your deckings manufactured for specific details on centre spacing).
If you are using a joist butt joint, your joists can typically be installed end to end on the pedestal – though do remember to leave a roughly 20mm expansion gap between them. If you are joining your joists in this way, it’s important to install a brace across the butt joint for added support. This brace can be secured by screwing a section of your lumber across the top.
Installing a Decking Subframe on a Soft Surface
Without the stable ground concrete foundations provide, you’ll find that decking pedestals just are not suitable. When building your decking on turf then, we recommend using post supports.
The prepwork for soft surfaces is also a bit more extensive. The most important of which is to completely remove the top layer of your lawn and replace it with gravel or screed. This will help with water drainage. You can then finish up with a weed control fabric to protect your decking from below.
We suggest you keep your decking at least 300mm of the ground to prevent damage long term, and integrate a slope of 4mm per meter.
 Fitting Your Post Supports
Plant the posts in the ground around the edge of your marked area to around a third of the post's total height. Keep in mind whilst planting your posts that the bearers and joists should be supported in a minimum of 3 paces. Cement these posts in and then wait for them to set.
Fitting Your Joists
Your joists and bearers can now be affixed to the posts using corrosion-resistance capped bolts. The holes for these bolts should be around 3mm larger than needed to allow for expansion. Similarly, whenever your joists meet with a cross beam, a gap of 10mm is recommended to prevent the lumber from cracking when expanding.
The joists centres should be no greater than 400mm apart lengthways and 300mm diagonally (we suggest asking your decking manufactured for specific details on centre spacing).
Top Tip: Multiple decking board ends should never share the same joist. For butt joints, you should ensure a double joist structure is underneath them.
If you have any more questions about your new deck or need a hand picking out the best boards for you, please get in touch with our award-winning customer service team. Call us on 01295 565 565 or talk to us direct using the handy live chat below. We’ll be happy to help.