How to Replace Roof Tiles
Replacing a cracked, broken, or missing roof tile is a vital skill to have as a homeowner. If you don’t get on top of this issue quickly, you’ll soon find yourself dealing with issues such as moss and algae growth, or even a nightmare roof leak. If water can wreak havoc below your roofline it will cause serious structural damage if left unabated.
Replacing tiles on your roof can be a challenge, particularly if you’re a DIY novice. If you’re uncomfortable working at height, or don’t think you’re up to the task, there’s no shame in hiring a professional. However, if you’d like to do the job yourself, this guide is the right place for you. We’ll talk about the common signs a roof tile needs replacing, what tools and equipment you’ll need, and processes for replacing all common forms of roof tile.
Table of Contents
- Signs Your Roof Tiles Need Replacing
- Before You Begin
- How to Replace a Roof Tile
- How Much Does It Cost to Replace a Roof Tile?
- Common Questions About Replacing Roof Tiles
- Conclusion
Signs Your Roof Tiles Need Replacing

Sometimes, it will be obvious that something is wrong with your roof, and that a tile may need replacing, whilst at other times a problem may be more subtle.
If you’ve recently noticed a roof leak, one of the most common causes is damage to your tiled roof. Other things to watch out for include visible signs of wear and tear from the outside, including holes, cracks, and other forms of damage. It’s not unusual for some types of roof tile to suffer from minor breakages such as a chipped corner, particularly clay roof tiles or roof slates that have been in use for many years.
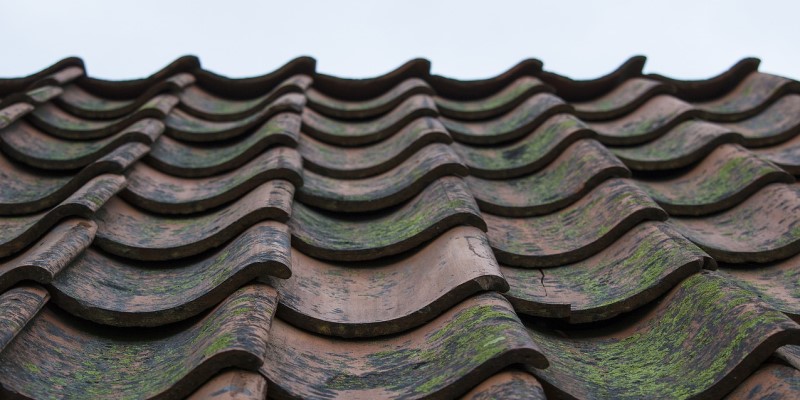
Physical damage isn’t the only reason you may need to replace a roof tile, you may spot another issue such as moss or mould growth. Not only is this unsightly, but it can lead to severe damage in the long-term. It’s rather simple to remove moss from roof tiles, but depending on the severity of the problem some or all of the affected tiles may need replacing.
Before You Begin
There are a few things you’ll need to remember before you replace a roof tile.
Safety First
Always wear gloves, a pair of robust safety boots and use a ladder when working on your roof. You should use a ladder that hooks onto your roof ridge for added safety, and you could also consider using safety ropes in case you fall. If possible, have a friend or family member help you by keeping the ladder stable from the bottom.
Tools You’ll Need
- Brick trowel or pry bar to lift tiles up
- Timber wedges to hold adjacent tiles up
- Hammer to replace any fixings
- Slate ripper to remove nails
- Sturdy, stable ladder to keep you safe at height
- Safety Workwear such as gloves and boots
- Crawl boards or walkways to avoid stepping directly on tiles
Materials You’ll Need
The roofing materials you’ll need for this job depend on how your roof tiles are fixed, but can include:
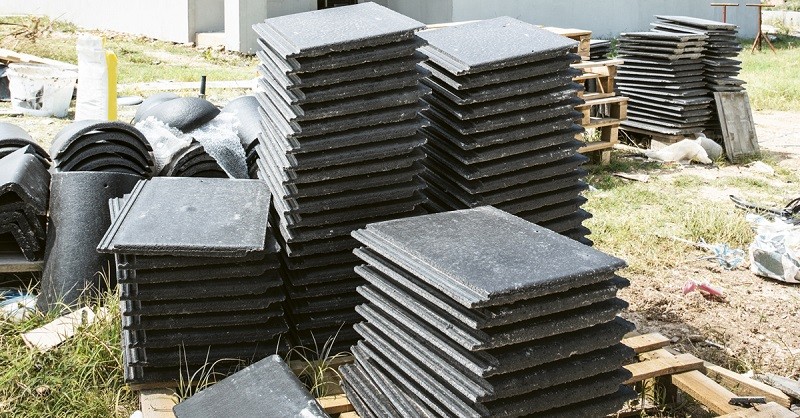
- Replacement tile(s)
- Fixings
- Clips
- Washers
- Adhesive
- Sealant
Finding the Right Replacement Tile
Although this won’t have any effect on your roof’s performance, if you want to keep your roof looking as seamless as possible, it’s vital to source a tile that matches your existing roof as closely as possible. Roof tiles come in all sorts of shapes, sizes, and colours, so it’s important to get this right. We stock a fantastic selection of roof tiles here at Roofing Megastore, so you’re sure to find one that matches your roof perfectly.
How to Replace a Roof Tile
Replacing roof tiles is a straightforward process, that is largely similar no matter the type of tiled roof you have. Below, we’ll go through removing and replacing all of the most popular kinds of roof tile step-by-step.
How to Replace a Cracked or Broken Roof Tile

1. Once you’re safely atop your roof, the first step is removing the existing broken tile. The exact way to do so depends upon the way in which the tile is fixed to the battens, and even the tiles around it.
- For unfixed roof tiles, the damaged tile can simply be eased out of place using a hand trowel or pry bar, along with timber wedges holding the adjacent tile up to avoid the nibs coming into contact with the batten. This will allow you to carefully slide the tile out of position without damaging surrounding tiles.
- If the cracked roof tile is nailed in place, you’ll first need to remove the tiles around it to expose the fixings. The roofing nails can then be removed using a tool such as a slate ripper.
- For broken tiles that are fixed with a clip, the clip needs to be removed before nails can be extracted. Then, you can simply follow the step above for removing roof nails from a tile.
- If multiple tiles are damaged but fixed by clips, all tiles to the nearest verge or hip may need to be taken up. Therefore, you will need a number of replacement tiles to carry out this process.
2. Replacing the tile you’ve just removed is often as simple as reversing the process above.
- For unfixed roof tiles, slide the replacement tile into position using your brick trowel until it is securely in place.
- If your roof tiles are held in place by nails, you’ll need to put the new tile into position and then fix it in the same fashion as the others. The new tile should also be fixed to the adjacent tiles using adhesive applied to the head lap.
- Once you’ve followed the steps above, replace any clips over the fixings to secure your new tile firmly into place.
- For nailed and clipped tiles, you will need to ascertain where fixing holes should be in the course below your replacement tile. Once you’ve fit the new tile in place, drill a hole through the bottom of the tile directly above the hole on the top of the tile below.
- Nailed and clipped roof tiles should be secured using a stainless-steel screw cap and washer, to provide extra security and a watertight seal. Apply mastic sealant if necessary.
3. Now is a good time to take a closer look at the condition of the rest of your roof. Take note of any issues you spot such as damaged or worn tiles and ensure to fix them as soon as you’re able.
How to Replace Vertical Roof Tiles and Slates
Unfortunately, removing vertical or “hanging” roof tiles or slates is not as simple as you might imagine. Every tile or slate will be fixed to the timber beneath, often with large clout nails. This means that you will need to remove any tiles above in a descending pyramid or ‘V’ shape in order to access the broken tile.
- Firstly, fold any flashings up and away from the top course of tiles.
- Once the fixings are exposed, carefully use a pry bar to remove them.
- Remove as many tiles as necessary in the first course and work your way down towards the affected tile in the descending pyramid described above.
- Now, fix a replacement tile in place of the old, broken tile.
- Finally, work your way back up, replacing the tiles course-by-course.
Special care and attention should be paid when replacing vertical roof tiles, as they are often directly above or below areas such as windows, doorways, and porches.
How to Replace Ridge and Hip Tiles
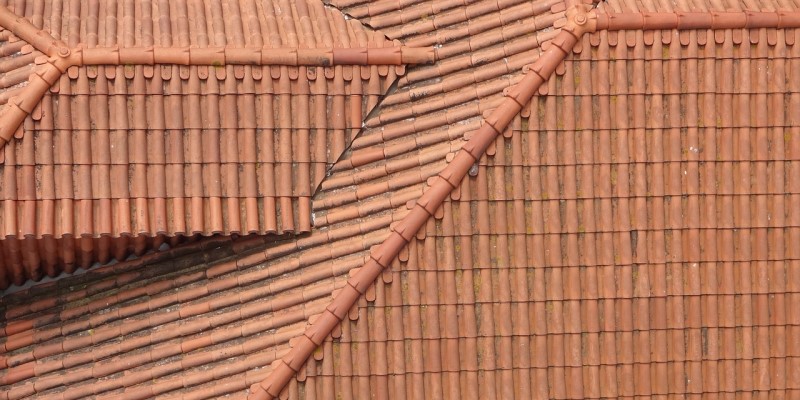
Replacing tiles at the ridges or hips of your roof is much the same as with other kinds of roof tile. You will first have to remove the existing damaged tile and reverse the process to fix a new tile to your roof. The exact method of doing so depends on whether your roof ridges and hips are fixed by mortar or dry fixings.
If your ridge or hip tiles need replacing, we’d recommend refreshing the entire course rather than trying to fix just one or two tiles. This is because due to the nature of roof ridges and hips, any partial fix will only ever be temporary. Plus, if your roof ridges and hips are secured by traditional mortar, this gives you a chance to switch to longer-lasting, much lower maintenance dry fix systems.
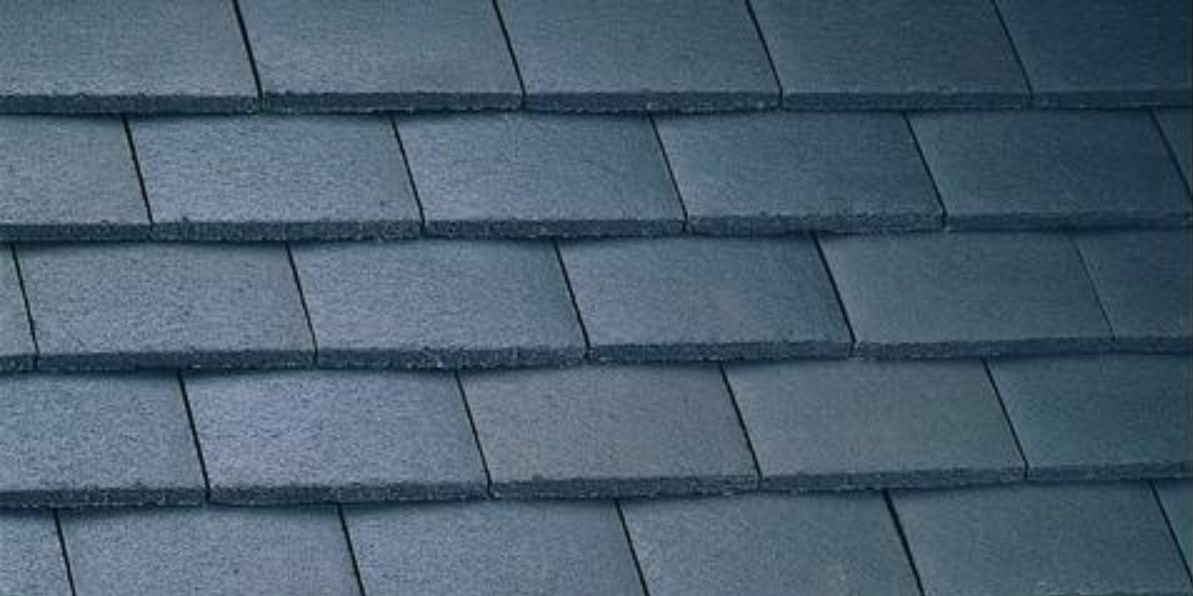
How to Replace Concrete or Clay Plain Tiles
When it comes to replacing plain tiles, which are most often made from concrete or clay, generally these are not nailed in every course.
This means that you can follow the steps outlined above on replacing cracked or broken tiles.
- The tiles surrounding a damaged concrete or clay tile should be lifted using a timber wedge, so that the offending tile can be pulled clear of the batten.
- The damaged tile should be carefully raised and slid out of position using a brick trowel or similar tool. Any nails or fixings should be removed first.
- Reversing the above, a replacement plain tile should be placed into position, and then fixed securely if necessary.
- If required, mastic or adhesive can also be used to provide an extra seal.
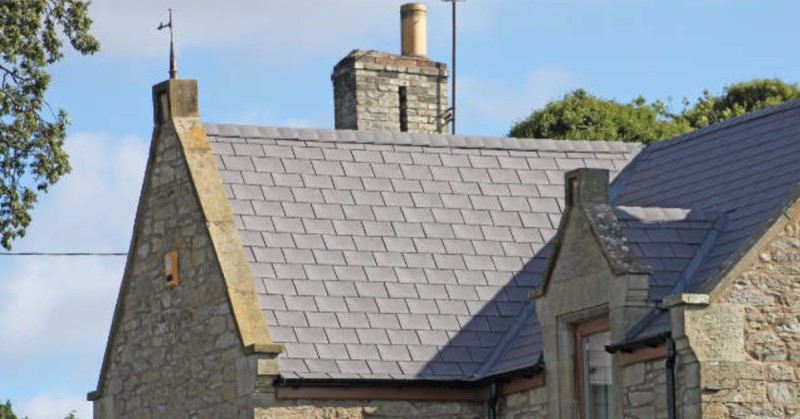
How to Replace a Slate Roof Tile
- First, remove the nails holding the broken slate tile in place before prizing and sliding the slate out of position.
- Lay your replacement slate in position to check that it’s the right size. If it’s too large, consider cutting it down to size using a slate cutter.
- Once you’re certain that your new roof slate is the correct size, slide it into place until it is aligned with adjacent tiles, ignoring any slight resistance. If you encounter a lot of resistance when doing this, old slate or nails may not have been fully removed.
- Now it’s time to fix the slate in place using copper roofing nails. Usually, fixings are placed around 2” above the bottom of the slate.
- Tap the nail gently at first before increasing in force, as doing otherwise may crack the slate.
- Then, fix a second nail 2” above the first to prevent rotational movement.
- Finally, be sure to add the copper slip, which will lift any water over the nails and onto the exposed portion of the replacement slate.
How Much Does It Cost to Replace a Roof Tile?
The cost of replacing a roof tile depends on several factors, ranging from how many tiles need to be replaced, to materials used, and whether you’ll be doing the job yourself. The below are estimates, and may be high or low depending upon the size of your roof and complexity of access. How Many Roof Tiles Do I Need?
Cost of Replacing 1-5 Roof Tiles
|
Tile |
Job Duration |
Material Cost |
Labour Cost |
|
1-2 Hours |
£7 |
£200 |
|
|
1-2 Hours |
£15 |
£200 |
|
|
1-1.5 Hours |
£10 |
£150 |
|
|
1-1.5 Hours |
£35 |
£150 |
Cost of a Full Roof Replacement
|
Tile |
Job Duration |
Material Cost |
Labour Cost |
|
1-2 Weeks |
£3200 |
£2000 |
|
|
1-2 Weeks |
£5500 |
£2000 |
|
|
1-2 Weeks |
£4500 |
£2000 |
|
|
1-2 Weeks |
£5000 |
£2000 |
Common Questions About Replacing Roof Tiles
We get many queries from our customers about how to replace a roof tile, and here are some of the most frequent.
When Should I Replace a Concrete Tile Roof?
Concrete roof tiles are by far the most common roofing material used to protect British homes, and it’s easy to see why. They’re highly durable, economical, come in many styles, and can last for decades. Whilst you may need to replace individual tiles every now and again throughout its lifespan, sooner or later you may need to look at a full roof replacement.
We’d recommend replacing a concrete tile roof for a few reasons:
- When it has been in place for over 40 years or is showing signs of serious wear across many tiles.
- When the felt or underlayment has begun to wear (usually at the 20+ year mark)
- If you’re dealing with constant issues such as roof leaks, that don’t seem to be fixed by patch repairs.
Can I Replace a Roof Tile from the Inside?
Many customers ask us this question, but unfortunately, it’s not possible to remove or replace a broken roof tile from underneath. If you’re not comfortable with working at height and replacing your roof tile from the outside, we’d recommend hiring a qualified professional to do the job.
Conclusion
Replacing a roof tile yourself can be a challenge, but with the right preparation, it’s well within reach for a DIY-savvy homeowner. Plus, doing the job yourself is both rewarding and will save you money on labour costs. We stock a fantastic range of roof tiles from some of the biggest brands in the industry, including Marley, Redland, and Sandtoft. So whether you’re just replacing a single damaged tile or looking for a whole new roof, you’ll find everything you need here at Roofing Megastore.
