How to Build a Shed Roof
Sheds are ideal for a wide range of different purposes – they’re ideal for use as storage spaces, rooms for our hobbies and more besides. They’re also relatively simple to build and maintain, making them hugely popular throughout the country. However, one of the more challenging parts of building a shed is constructing an effective roof.
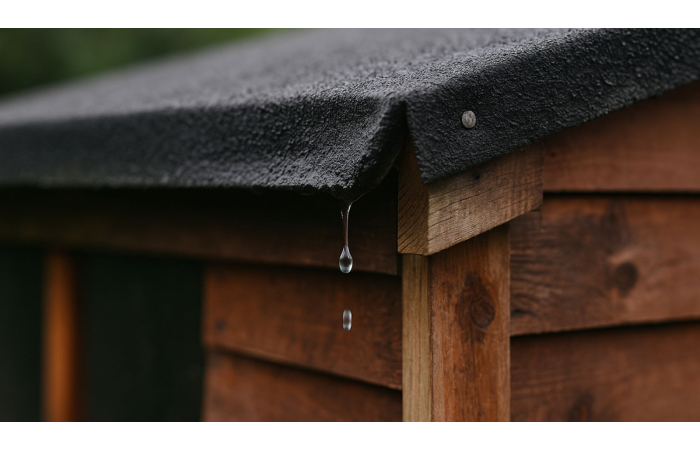
It is vital that the roof of a shed is as effective as possible – after all, it is the main line of protection against the elements for anything you are keeping within your shed. Ensuring that it is strong enough to resist wind and waterproof enough to withstand heavy rainfall are both vital.
This guide will walk you through the construction of one of several ways to construct a basic pitched shed roof. There are four main stages – the plan, the rafters, the substrate, and finally adding the roofing materials. In following these steps, you should find yourself ending up with a shed roof more than capable of fending of the elements and protecting the contents of your shed.
How to Build a Pitched Roof for a Shed
Stage 1 – Planning
Here you’re going to need to determine the style and pitch of your new shed roof, as well as the roofing material you will use.
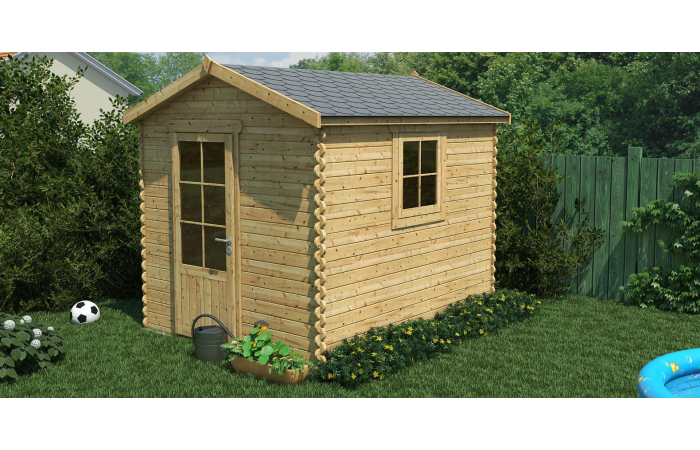
There are many different styles of roof that can be applied to a shed, including gable (the iconic ‘central peak with two sloping sides of equal length) skillion (a single, sloped flat plane) and many others. You may also choose to opt for a flat roof, though keep in mind the construction of flat roofs is different, and not as commonly used on sheds.
You will next have to determine the pitch of your roof. For more information on this we have a handy guide on working out roof pitches. It is a fairly straightforward process that shouldn’t hinder your planning progress.
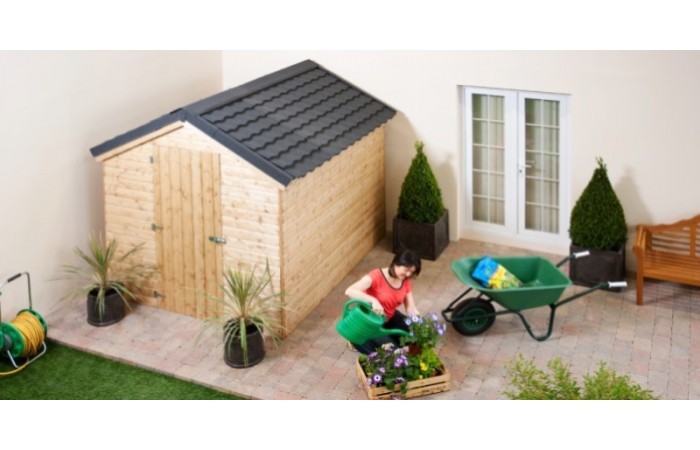
Next, you must decide on the type of roofing material you want to use on your roof. You won’t need to apply these straight away, but it is good to decide now in order to make the rest of the process run more smoothly. More information on the best materials to use can be found here, which include felt, shingles, metal sheeting and more.
Next, it’s time to ensure your shed is ready to receive a roof. It should already be constructed before proceeding with strong walls in place capable of holding the roof securely.
You should then mark out on the roof where you plan on the placing the rafters with a marker or similar, as this will make the next stage a lot easier. If the rafters are properly placed, they will maximise roof support and minimise the materials needed.
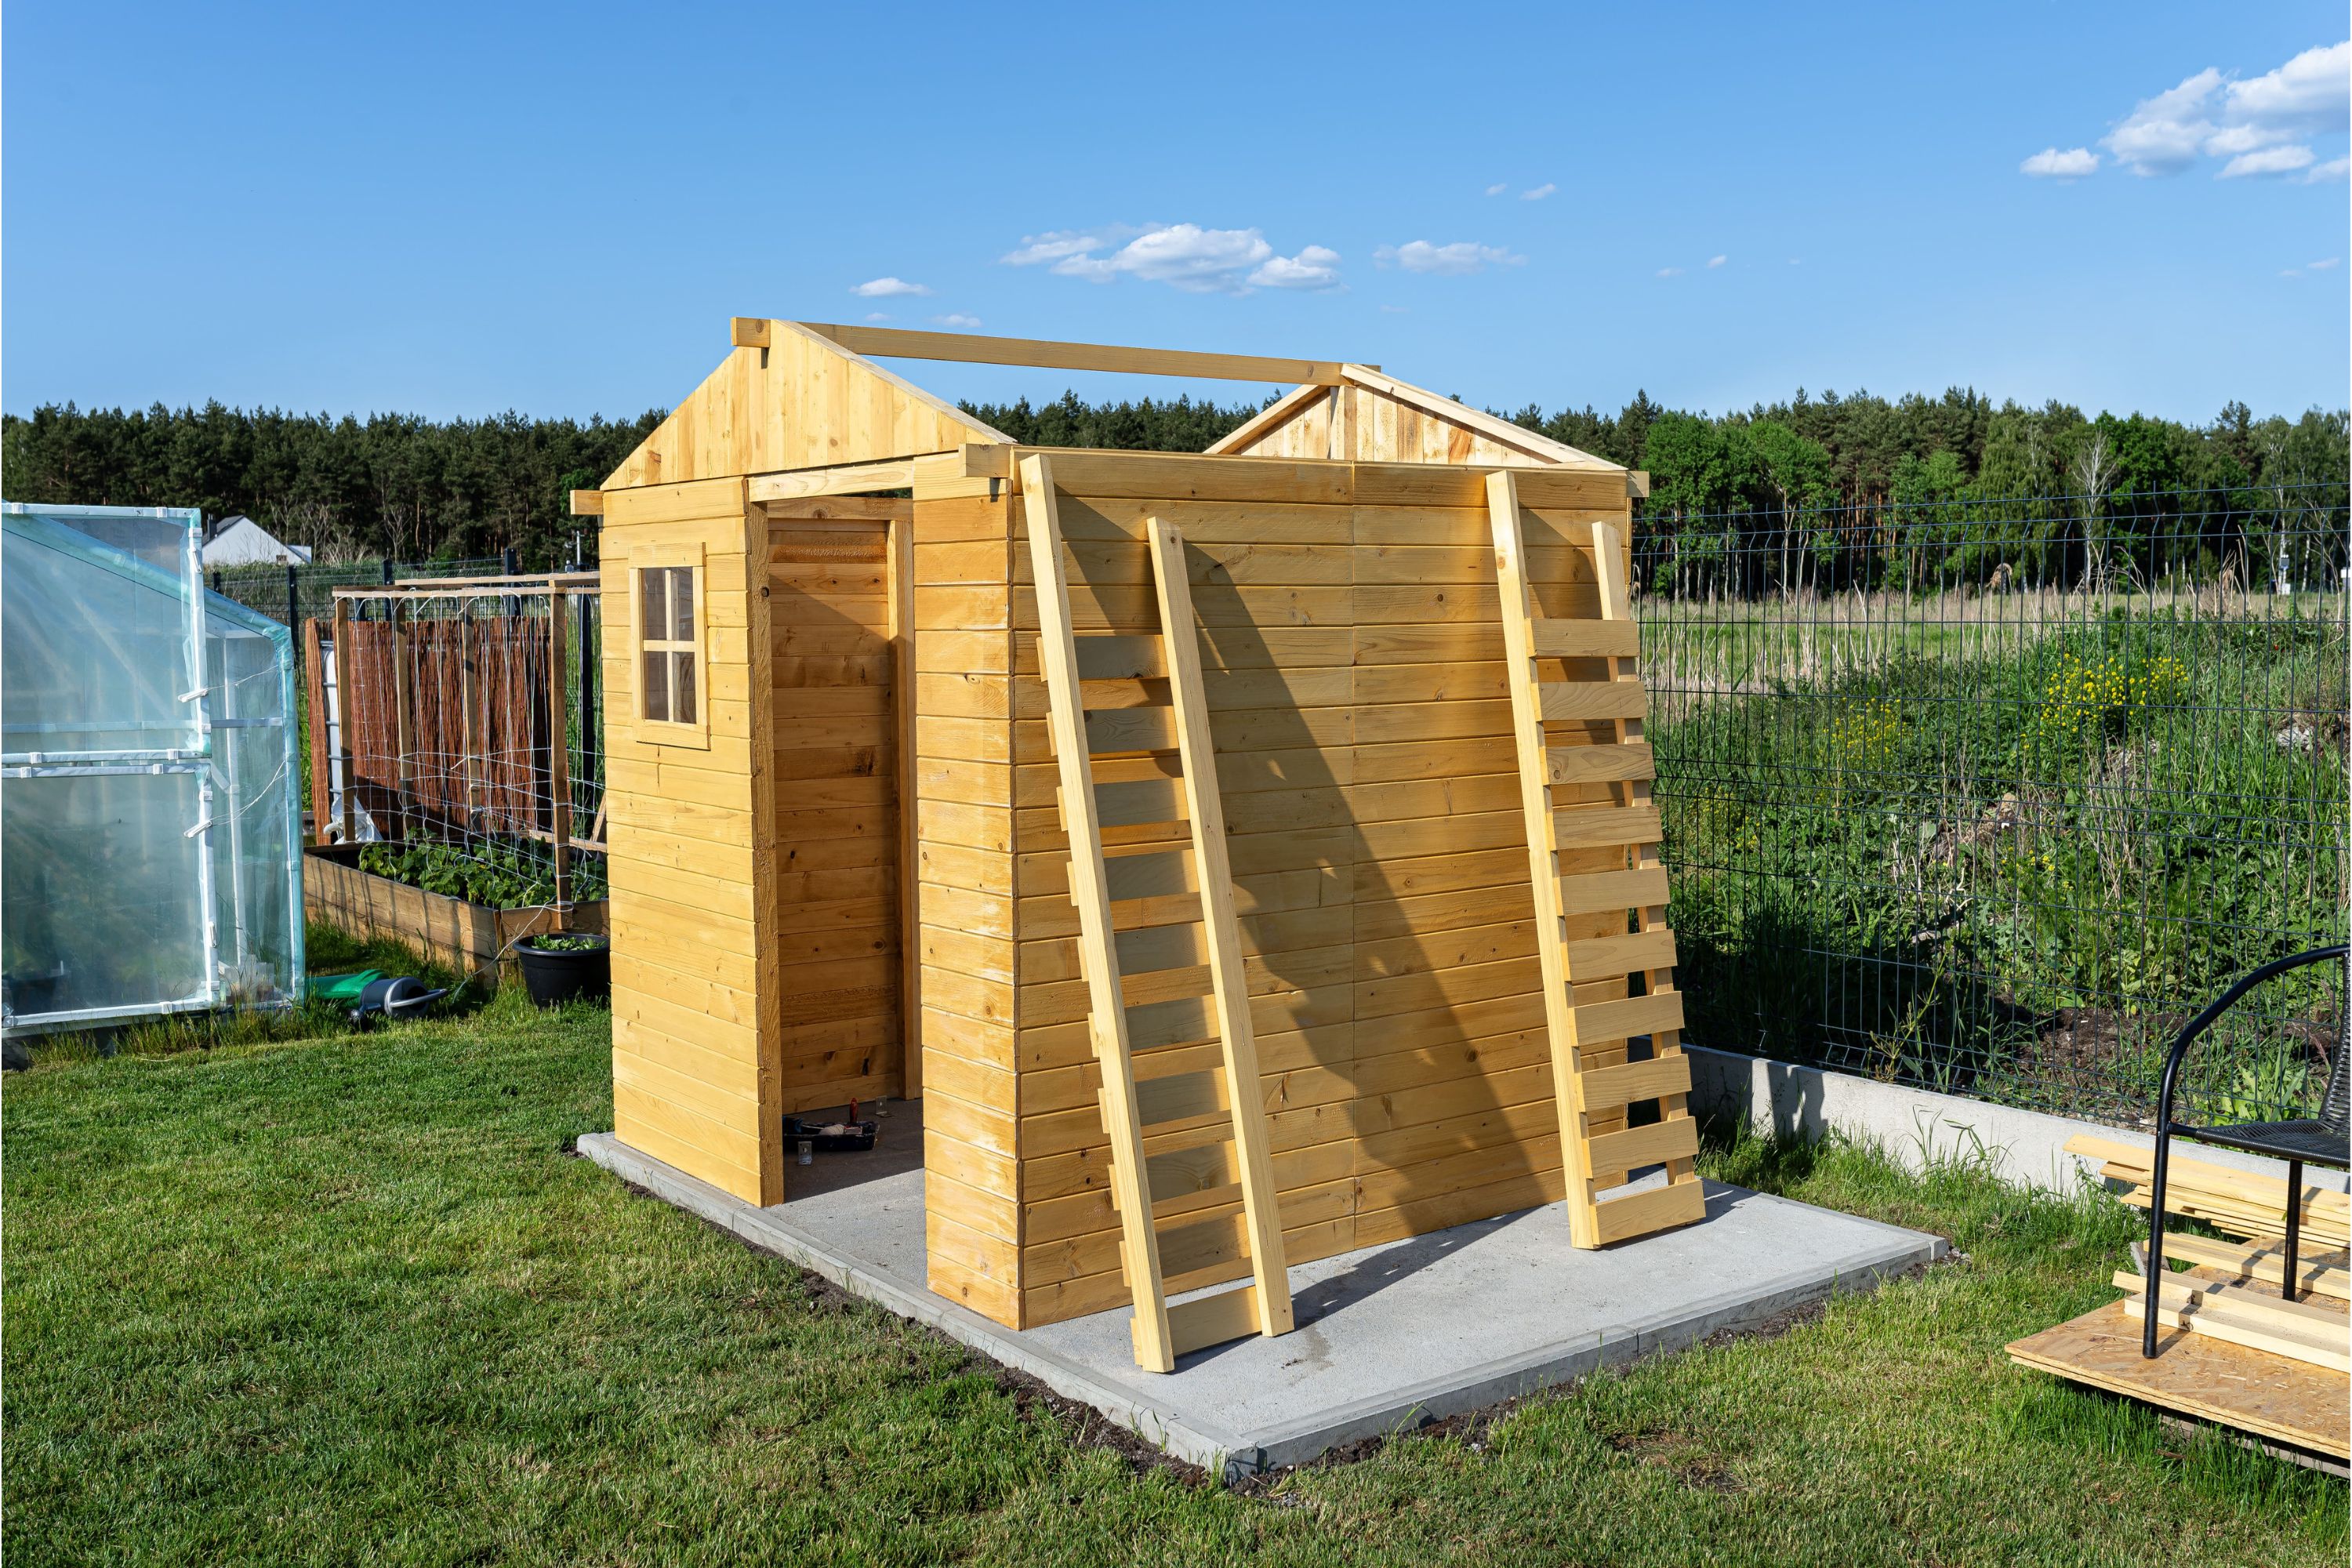
Stage 2 – The Rafters
Adding the rafters is a vital stage and it is important to first measure the boards to ensure that they are appropriate for the size and style of shed you wish to create. Rafters on a sloped roof will be longer than those on a flatter roof. It is also important to cut the ends of each rafter board to ensure that they will be able to meet with on another at the peak of your roof.
You will then need to cut your rafter boards to size. There are a variety of ways to do this, but the most simple and straightforward is using a circular saw. Please remember to ensure all safety precautions have been taken when embarking on any construction project, especially when handling saws and other dangerous equipment.
Once you have cut the rafters to size you will need to make what is known a notch, sometimes referred to as a bird’s mouth, at the end of each rafter. This will help it fit into place later. Bird’s mouth notches have an angled cut, which means the rafter can sit at a level on top of a wall plate instead of balancing on top.
Now you can create trusses out of your rafter halves. Use gusset plates made out of plywood for added security. This can be done by tracing the upper 10 inches of your rafter peak onto a sheet of half inch-thick plywood, cutting out the resulting triangular shape with a saw. Align it with the joint where two rafter boards meet and secure with nails.
You then need to attach the end rafters to the top of the walls of your shed. Fasten them in place with nails, which should be applied at an angle just next to the bird’s mouth notch. Around 3 nails should be enough. Repeat this on the opposite rafter.
When preparing to add the remaining rafters, it is a good idea to add a string running from the front of your shed, on the top of the front rafter roof to the back, at the top of the final rafter. Using the string as reference, you can add the remaining rafters equally and effectively, ensuring that they are as neat as possible.
Stage 3 – The Substrate
Start by covering the top of your rafters with plywood sheathing. This will serve as the surface on which your substrate will be applied. It should be laid horizontally across the tops of the rafters, with the edges of both the sheet and the rafters aligning.
Be sure to fill in any gaps in your sheathing with more plywood. It is worth noting that plywood is usually produced in larger sheets, so you will need a few with a lot of cutting taking place in order to get the ideal shape and fit.
You can then properly fasten the sheets and sheathing using nails. They should be added around every 6 inches through the plywood sheeting and into the rafter. Once this has been done, you should search for any loose areas of the sheets and use additional nails to secure them.
It is then time to cut fascia boards to complete the look of your shed. This should only be done once the sheathing is firmly in place. They should be put up over any exposed rafter ends and should match the length of the shed.
Stage 4 – Roofing Materials
It is now time to add your chosen roofing material. The processes during this stage of construction will heavily depend on your chosen material, but here is a quick rundown of the most popular types.
Felt is fantastic for basic protection and can be quickly and easily applied. It can also be used as a substrate before attaching something more durable such as asphalt shingles. It is supplied in rolls, with the edge of the roll lined up with the bottom of your roof, and then it should be stapled several times. The roll can then be rolled across the roof, adding more staples every foot or so to ensure it is properly secured.
Asphalt shingles are more attractive than felt and will give your shed roof a more appealing aesthetic. After creating a starter strip out of several full-sized shingles cut in half, the remaining shingles are added straightforwardly in rows from the bottom to the top of your roof. They can be secured using roofing nails.
Bitumen roofing sheets are by far the most popular type of shed roofing sheet. This is due to their fantastic combination of durability, easy installation, and low cost. We provide bitumen sheets from some of the industry's leading brands, including Corrapol and Coroline.
Conclusion
If you have carried out all of these steps, you should have a fully functioning shed roof, that will help you to keep your belongings safe from the unpredictable weather than can be thrown your way all year round. Shed roofs tend to require little maintenance, though replacements and repairs may be more common among some of the weaker materials such as felt. In order to avoid this and have your shed roof last longer with less work required, opt for sturdier sheets. More information can be found in our guide to the best shed roofing materials.
Now it’s time to sit back and enjoy your brand-new shed roof!