Quick DIY Fixes for a Leaking Garage Roof
A lot of garages in the UK are getting on a bit and leaks are an unfortunate but common headache. Some leaks can be patched by a confident DIYer with simple products, but whether you should undertake it yourself will depend on a few things.
This guide will help you work out what you need to know before you try and fix a garage roof leak and give you practical quick fixes for some of the most common garage roofing materials and types.
In this article:
Important Before You Start:
Step 2:
Some older garages, especially those built before the 1990s, may have roofs made from asbestos cement sheets. These materials are legally classified as hazardous and can release dangerous fibres if disturbed - even during seemingly minor repairs.
Roofing Megastore does not recommend or advise any DIY work involving asbestos. If you suspect your garage roof may contain asbestos - or you're not 100% certain that it doesn’t - do not attempt any fix yourself. Stop and contact a licensed asbestos contractor.
This guide is for spot leaks on otherwise stable roofs. If the whole surface is failing, or the structure is already compromised, patching will be a waste of time - and may not be safe.
Do not attempt repairs if you notice:
-
The roof deck is soft, sagging or rotten (under felt or sheeted roofs)
-
There are cracks or damage across the entire surface, not just one area
-
Corrugated sheets feel loose or unsafe to touch
These are bigger issues than a quick fix and may require a straight re-roof.
Do not climb onto the roof:
Garage roofs are not designed to take weight - especially older ones. If you can’t reach safely from a ladder or working platform, stop and get help from a tradesperson.
If you have any doubt at all about anything mentioned here - get it looked at by a professional.
Before you start patching anything, make sure you’re fixing the real source of the leak and not just the drip you can see.
Water rarely enters directly above the wet spot. It often travels across timber, metal fixings or roof sheets before finally dripping through.
-
Inside: turn off the lights and use a torch. Look for tiny holes, stains or light coming through.
-
Outside: carefully from a ladder, check edges, joins and around fixings. These are the most common weak points.
-
Still not sure? Use a hose to wet sections of the roof slowly while someone watches from inside.
If you can't find a leak the issue is probably condensation - see our guide here for how to stop it under garage roofs.
Skip to the section below that matches your roof type for all the details.
Step 2. Quick DIY fixes for garage roof leaks:
Once you’ve identified the most likely source of water entry, you’ll then need to clean and dry the area to make sure it’s primed for the fix.
Wait for a dry day to make your repairs - most sealants and adhesives won’t bond properly otherwise.
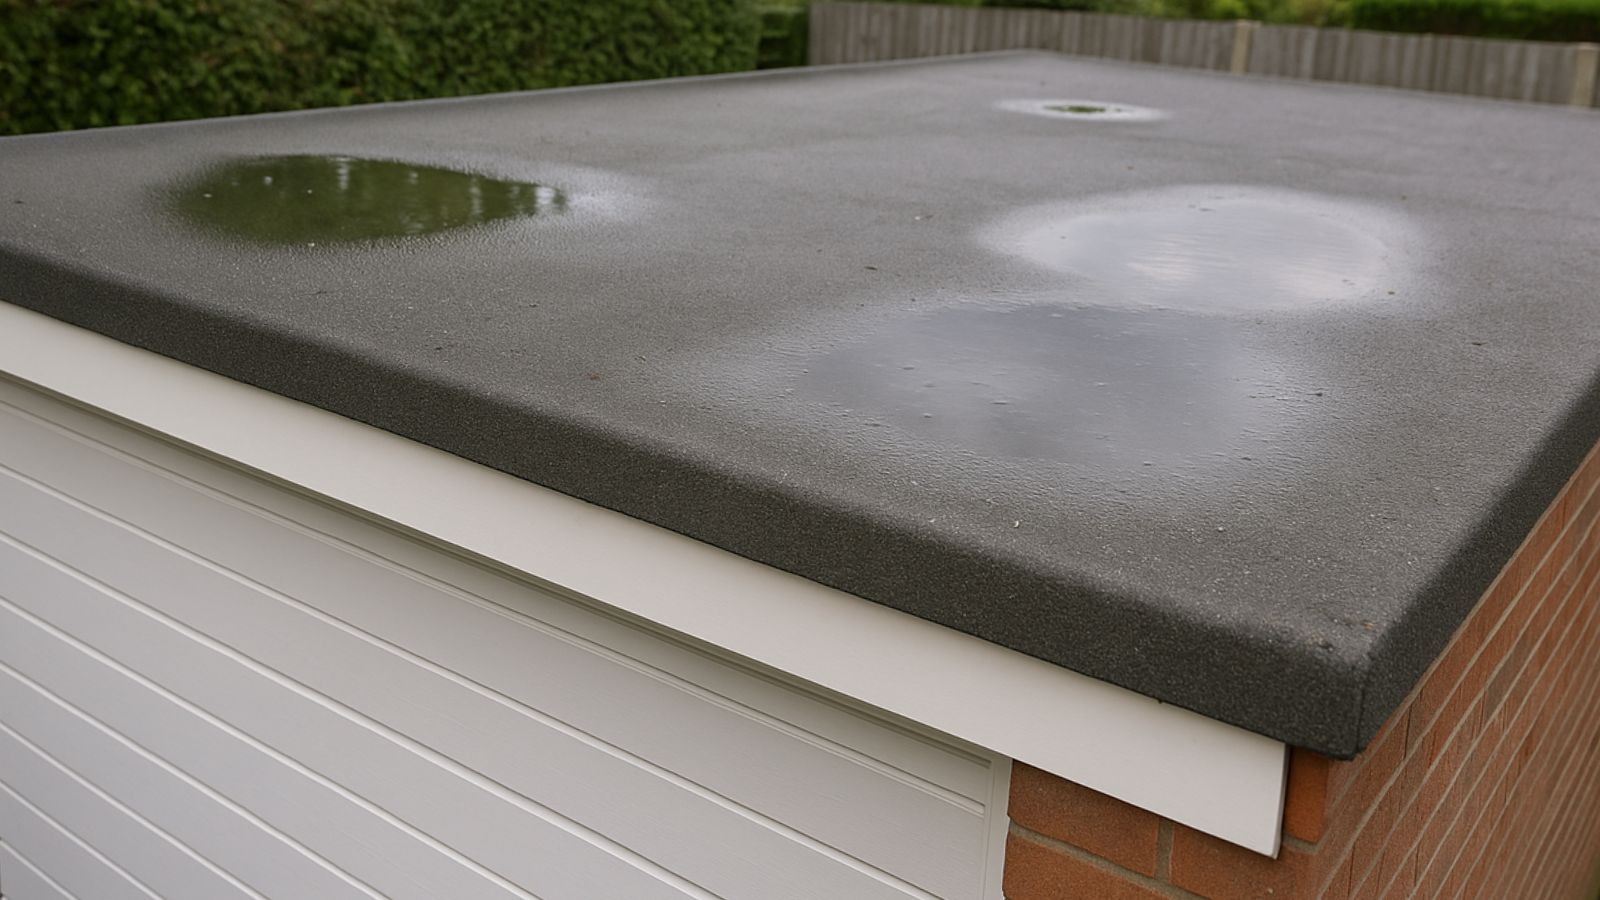
Quick fixes for leaks in flat garage roofs with felt covering
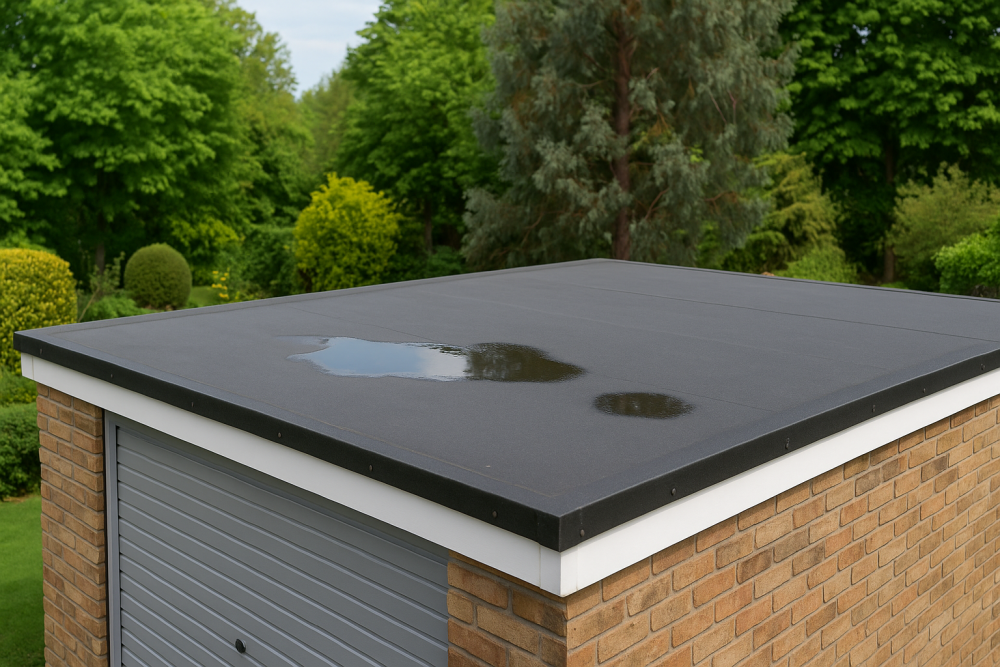
Common leak causes: a split or crack in the felt, felt that’s lifted at the edges
This fix is suitable when you have a maximum 1 or 2 small, localised splits (up to around 15–20cm) - if there are lots of splits, you may need to replace the felt instead.
What you’ll need:
Fibre-reinforced acrylic roof sealant (or bitumen mastic), 100mm roof repair tape (for longer splits), stiff brush, absorbent cloth, gloves.
Steps:
-
Brush away any loose dirt, grit or moss.
-
Use a cloth to soak up moisture. It doesn’t need to be perfectly dry, but don't apply sealant to a wet surface.
-
Apply a thick, even coat of sealant over the crack, extending 5–10cm past the edges.
-
For longer splits, press a strip of repair tape into the wet sealant and smooth it down gently.
-
Brush a second layer of sealant over the tape, fully covering the patch.
-
Allow the repair to cure fully before exposing it to rain. Check the tin for recommended drying time.
Lifted edges are also common and need to be re-bonded.
What you’ll need:
Cold-applied bitumen adhesive, small scraper or trowel, stiff brush, cloth, gloves, repair tape (optional)
Steps:
-
Carefully lift the loose section of felt without tearing it.
-
Scrape out any grit, moss or dirt underneath and dry the area with a cloth.
-
Use a scraper or trowel to spread adhesive across the contact area.
-
Press the felt back down firmly and hold it in place for a few seconds.
-
If the edge won’t stay flat or the join is still exposed, add a strip of repair tape or apply more adhesive over the seam.
How long will these fixes last?
Assuming the roofing and support structure are in otherwise general good repair:
-
A well-sealed crack or edge can hold for around 6 to 18 months
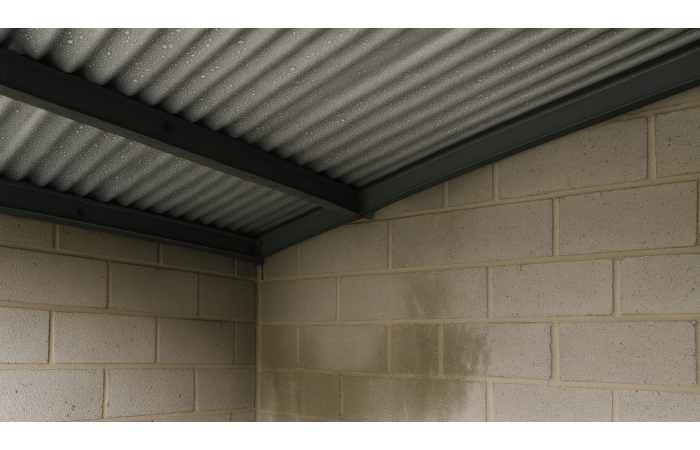
Common leak causes: loose or missing fixings, gaps at overlaps, small surface cracks/hairline damage
 The basic steps are the same for any corrugated sheet type but:
-
Bitumen and fibre cement sheets can crack if overtightened - take extra care.
-
Always use roofing screws with bonded washers or caps suitable for the sheet type
Before you replace:
Check if the fixing has simply come loose:
-
If it’s a screw and turns easily, try gently tightening it with a drill and socket bit, or a socket wrench if the head is hexagonally-shaped
-
If tightening solves the issue and the washer is intact, you’re done.
Otherwise, if the washer is broken or missing or the screw no longer fits neatly in the hole, try this:
What you’ll need:
Correct fixings for your roof sheet (with washers and caps), cordless drill or spanner, roofing mastic.
Steps:
-
If the washer is missing or perished, or the fixing won’t tighten properly, remove the old fixing carefully.
-
Check the condition of the hole:
-
-
If it’s solid, install a new fixing into the same hole, bedding it into a small amount of mastic to seal it.
-
-
-
If the hole has widened, cracked or pulled through, fill it fully with mastic, then create a new fixing point slightly to the side (still on the ridge of the sheet).
-
-
-
Always finish with a weatherproof cap over the fixing head, pressing it into a small bed of mastic if required.
-
What you’ll need:
Roofing mastic or corrugated repair tape, soft hand brush, cloth, gloves.
Steps:
-
Brush away any moss, dust or grit from the overlap.
-
Wipe down the area with a dry cloth to remove moisture.
-
Apply a strip of repair tape or a bead of mastic directly along the joint.
-
Smooth down the tape gently, pressing it over both sheets to seal the seam.
-
If needed, reinforce the ends of the overlap with a dab of mastic or a small extra strip of tape.
Hairline cracks can cause a leak now but they can also spider and cause bigger issues later on, like a chip in a windscreen. Fixing them as early as possible is the goal here.
What you’ll need:
Roofing mastic, corrugated repair tape, soft brush, dry cloth, gloves.
Steps:
-
Brush away any loose dirt or debris from the cracked area.
-
Dry the surface thoroughly with a cloth.
-
Squeeze mastic directly into the crack, pressing it in to fill the gap
-
Press a strip of repair tape over the mastic while it’s still wet.
-
Smooth the tape down firmly to ensure full contact with the surface.
-
Apply another layer of mastic over the tape to seal the patch fully.
How long will these fixes last?
Assuming the sheets and underlying support are otherwise sound:
-
Fixings replaced with new screws and washers can hold for 2–5 years, depending on exposure and material type.
-
Mastic and tape repairs to overlaps or hairline cracks can last 1–3 years
If you’re sealing the same joint more than once or water starts tracking further inside, it's usually a sign the sheet needs replacing.
Most garage leaks come from felt or corrugated roofs, but some newer builds or upgraded garages use other materials.
EPDM rubber is a single-piece membrane used on flat roofs. It’s durable, but can tear or lift at the edges if poorly fitted. Minor punctures may be patched with a primer and self-adhesive repair kit - but only if the roof is dry, intact and accessible.
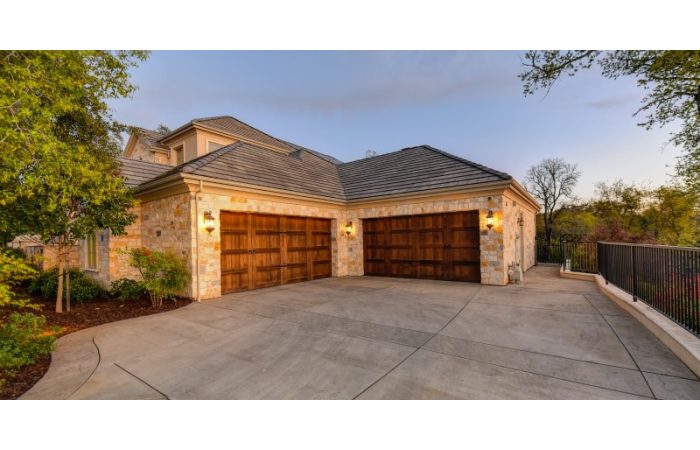
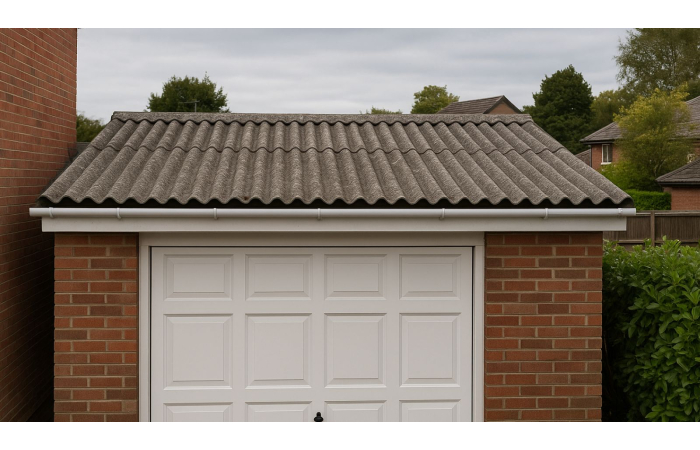
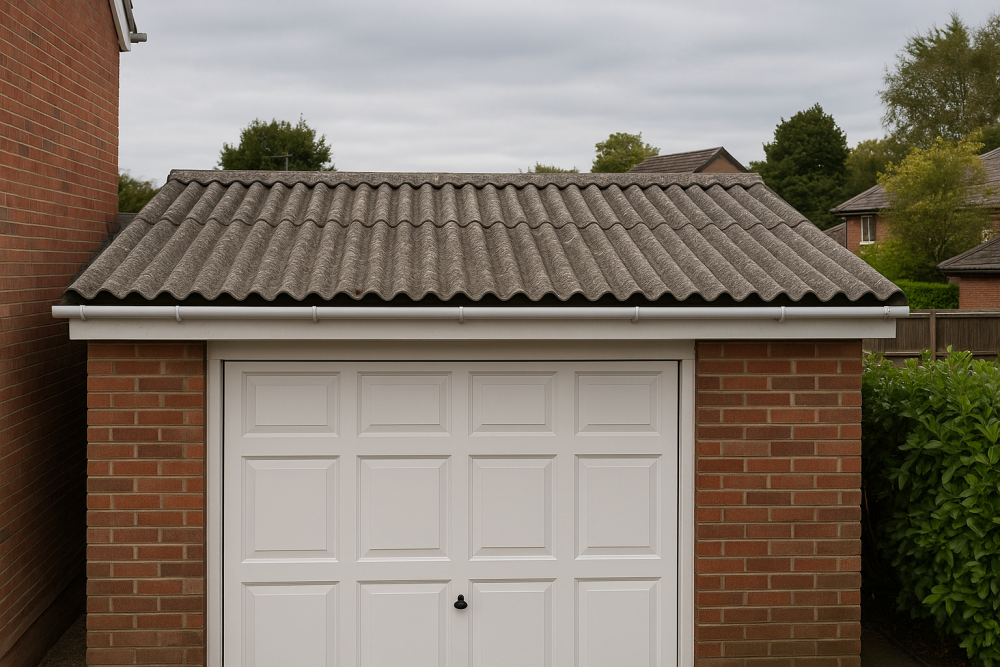
Tiled garage roofs (including lightweight tile-effect sheets) are less common, but can suffer from slipped tiles or failed ridge details. These can sometimes be re-secured - but repairs often mean working at height and are usually better left to a roofer.
Where to next?
If you’re constantly patching, or if more than one part of the roof is failing, you’re just kicking the problem down the road and you may be better off going for a replacement.
Check out more garage roofing guides or browse garage roofing products below.