How to Install Polycarbonate Roofing Sheets
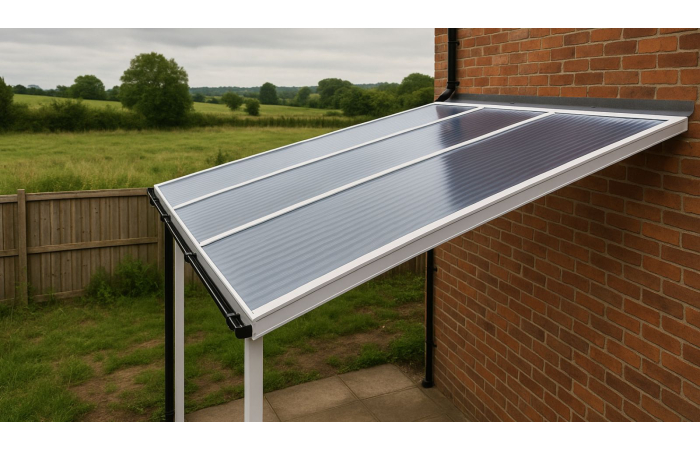
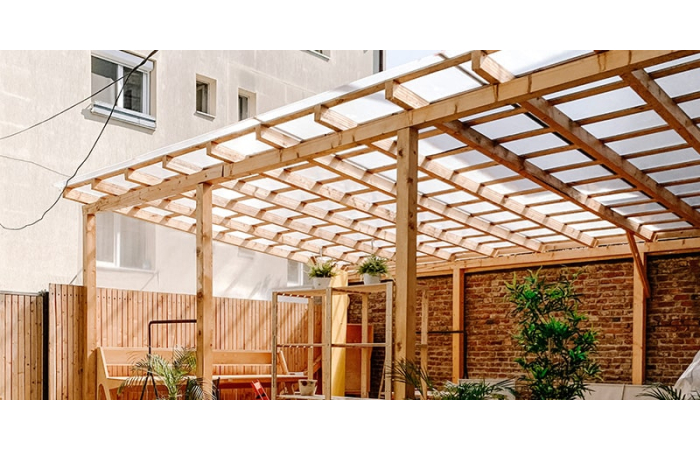
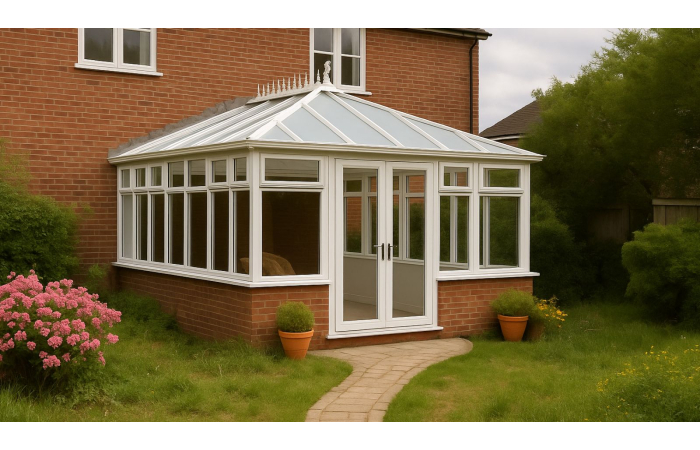
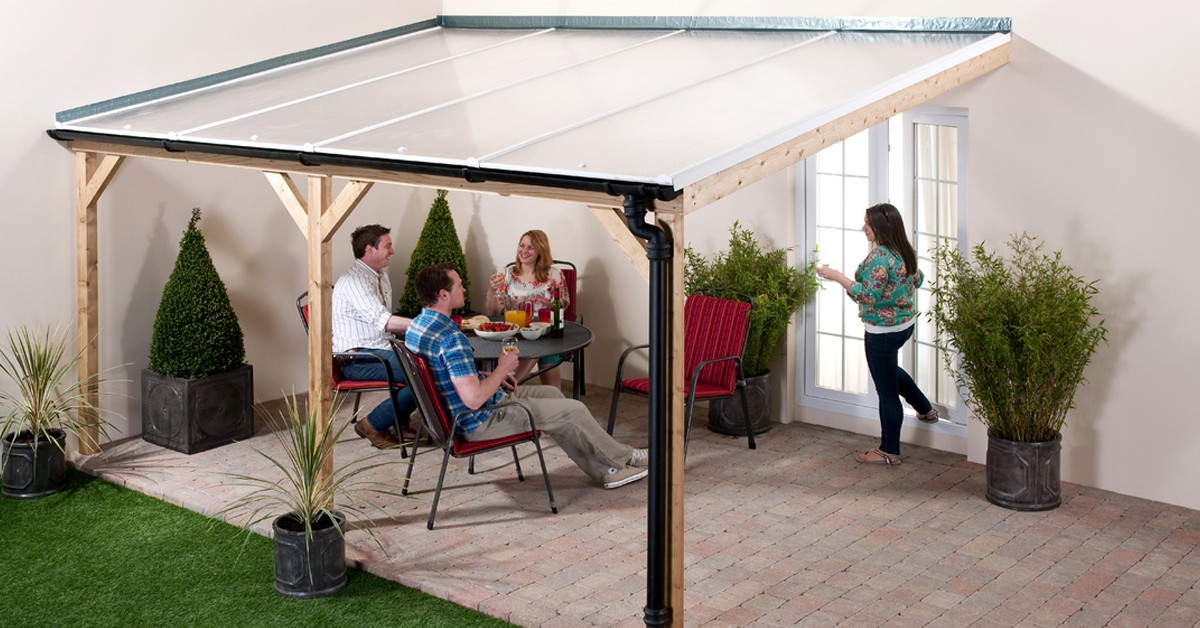
Polycarbonate sheeting is one of the most popular forms of roofing in the UK. Incredibly versatile, it can be seen on a wide variety of structures including conservatories, garages, carports, canopies, lean-tos and even extensions. Polycarbonate is highly favoured by homeowners thanks to its low price point, solid durability, and straightforward installation.
However, if this is your first roofing project, it can be a little overwhelming when you consider the many steps involved when installing polycarbonate roofing sheets. As one of the most important elements of any structure, the roof must be installed correctly to provide effective, long-term protection for whatever’s inside.
Read on to find detailed information about all the key steps, as well as an explanation of the tools and equipment you’ll need. These steps will be the same when installing multiwall polycarbonate roofing sheets on almost any structure, but specific steps may vary depending on the exact project.
Choosing Your Polycarbonate Roofing Sheets
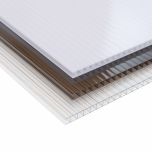
We supply a wide variety of polycarbonate sheets, including products from top brands such as Corotherm and more. Polycarbonate roofing comes in a range of thicknesses from 4mm to 35mm, each best suited to different applications. So, it’s vital to choose the right sheet for your project.
Multiwall Polycarbonate
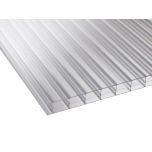
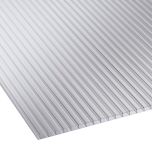
Multiwall polycarbonate features a corrugated form factor which makes it incredibly resistant to impact – up to 200x stronger than glass! As a lightweight and easy to install roofing option, it’s one of the most popular among British homeowners. Available in bronze and opal finishes, as well as clear which allows maximum light into the structure below.
4mm & 6mm
These sheets don’t offer adequate protection for larger structures and are best suited to cloches, or cold frames. They can also be used as a form of cladding or as a balcony safety barrier.
10mm & 16mm
Otherwise known as either twin wall polycarbonate or triple wall polycarbonate, these sheets offer superb impact resistance and are ideal for projects such as lean-tos, pergolas and carports.
25mm & 35mm
Offering the greatest level of durability and impact resistance, these polycarbonate sheets are perfect for protecting conservatories or orangeries, as well as garages.
Solid Polycarbonate
Solid polycarbonate sheets are ideal for homeowners that prefer a flat form factor to corrugated sheets. While they lack the added strength afforded by a corrugated profile, these sheets are still incredibly durable and make the perfect shatter-proof solution for balconies, greenhouses, conservatories and more. They also come in a range of more opaque finishes including black for maximum privacy.
What Do I Need to Do Before Installation?
To save time and money later on, it’s vital to plan out the installation in advance. The first step is to ensure that the structure is solid and secure enough to support the polycarbonate roof, along with all components such as rafters and glazing bars properly applied.
Once you’re satisfied that the structure can support polycarbonate sheets (most will, it’s incredibly lightweight!), it’s important to take measurements of the roof area correctly. Be sure to measure the lengths, widths, and angles of the build multiple times to be certain of the dimensions. While this can be a tedious process, it saves a great deal of time and potential trouble further down the line.
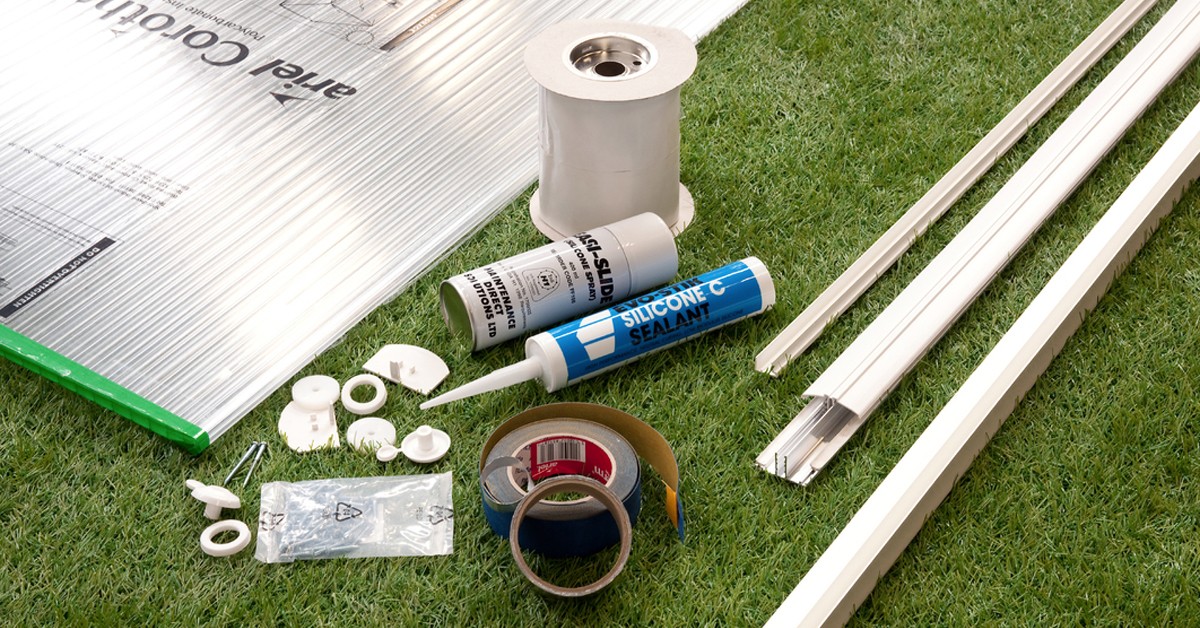
Having all the tools and equipment you’ll need ready beforehand is another way to make your life easier. You won’t need any specialist tools to fit polycarbonate sheets, just a hammer, drill and a circular saw if you feel you may need to cut the sheets on-site. If this isn’t something you’re comfortable with, you should consider our cut to size polycarbonate service, or consult a professional.
As well as tools and the sheets themselves, you’ll also need to make sure to order all the necessary fixings and accessories to complete your project. The exact components needed may vary by brand, but flashing tape, glazing bars, eaves fillers and fixings will almost always be required. If you’re ever unsure, why not get in touch with our customer service team? They’re available via telephone on 01295 565 565 or via the online chat on our website.
How to Fit Polycarbonate Roofing Sheets
Now that you’ve done all the necessary research, preparation and your polycarbonate sheets have arrived, it’s time to get to work!
Laying Sheets and Glazing Bars
Laying the sheets and glazing bars correctly is a vital part of the installation process, making sure that your sheets fit the structure correctly; with no gaps or unevenness. It can be tempting to skip this step since you should have already measured the area and sheets, but you don’t want to be caught out halfway through fixing your sheets!
You can also take time during this part of the process to ensure that your sheets are as sturdy as they need to be. Polycarbonate sheets are favoured for their high impact resistance, though this is only truly effective once the panels fit to the roof correctly. This will prove the same for your roof’s effectiveness at resisting water during storms and showers.
Fitting your Polycarbonate Roofing Sheets
Now it’s time to start fixing your sheets properly. Before we get to the sheets, however, it’s best to start with the glazing bars.
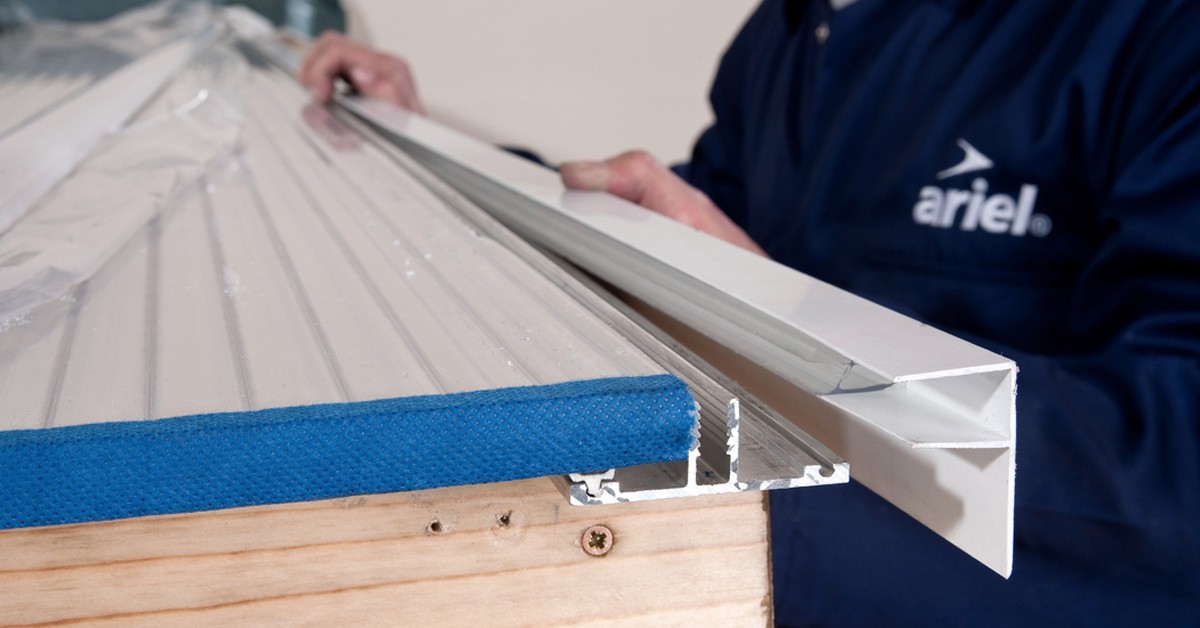
- Glazing bars should be placed on the edges of your roof, with holes drilled around 500mm apart. You can then use these holes to insert your fixings and effectively secure your bars ready for the sheets.
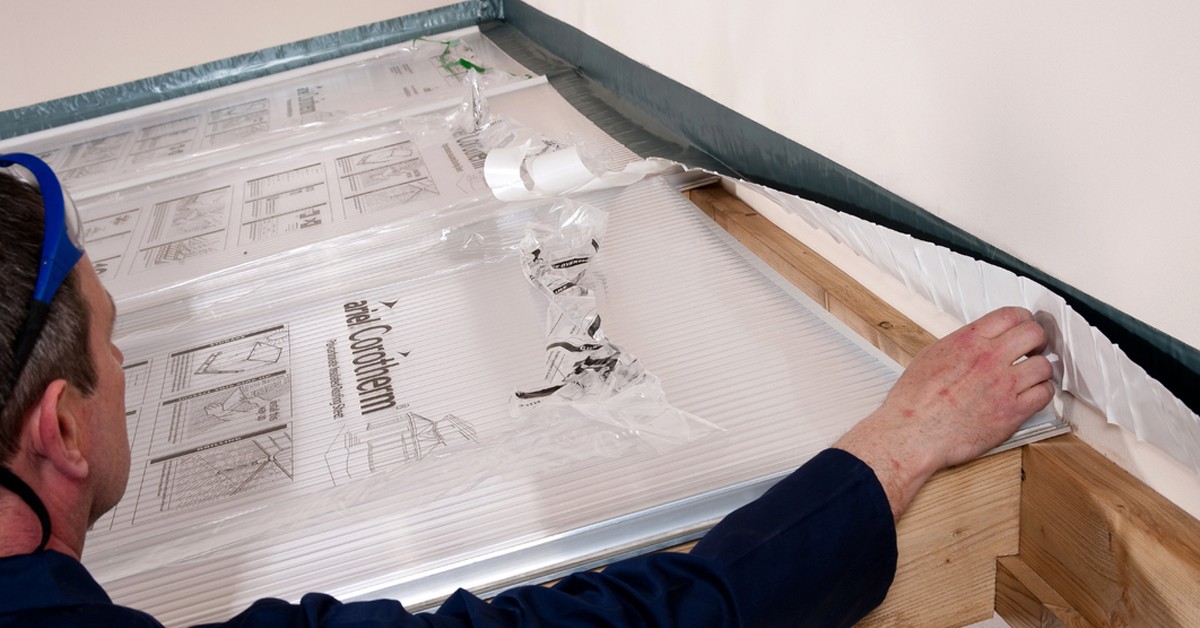
- Most roofs will require eaves fillers, and yours should be added at this point in the process. You can then begin to add your sheets, starting by attaching one to the glazing bar on one end of your roof. You can then line up your sheets on the roof ready for fixing.
- There should be a glazing bar attached between each sheet, which will help to properly seal any gaps between them. Once the sheets have been aligned on your roof and attached to the bars, you can finish off by adding the screw caps and screws, creating a secure, reliable fix.
- At this point, you can remove any protective film on your sheets, and then start to drill holes into the sheets and add screws and/or fixing buttons which will further strengthen your polycarbonate roof.
- There are various other things you can do to make your roof more effective, for example adding flashing if your roof attaches to another wall.
The Finishing Touches
Once these steps are complete; it’s time to start making the final adjustments to your roof. Clearing the sheets of any dust caused by the drilling process is recommended, as is ensuring that any screw caps and/or buttons you have used have been properly applied are uniform across the roof.
Storing Unused Polycarbonate
If you have any polycarbonate roofing left and would like to store it for later use, it is best kept in an interior location to minimise wear. This also goes for any equipment and accessories you may have used in the building process.
And You’re Done!
Now you should be able to step back and admire your beautiful new polycarbonate roof. Your structure will now be safe from the elements for years to come; whether they be unexpected impacts, severe weather, dirt or debris.
If you’ve got any more questions about how to install polycarbonate sheets, or anything else, be sure to get in touch with our customer service team. They’re available via telephone on 01295 565 565 or via the online chat on our website.