5 Quick Pre-Winter Roof Checks for Garages, Sheds & Other Garden Buildings
It’s that time of year when the weather really starts battering your home and garden.
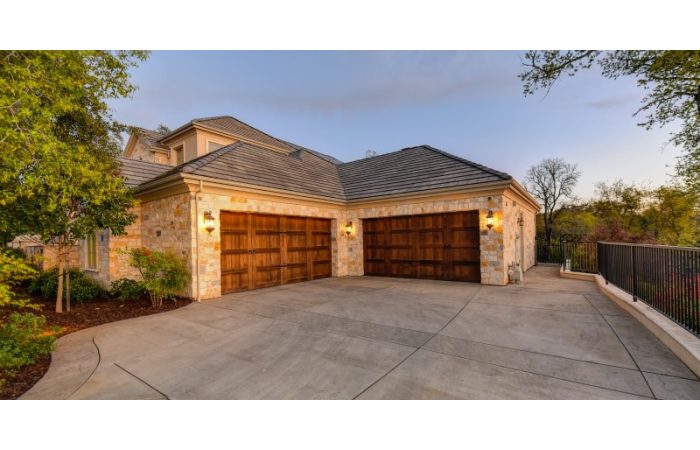
But while your house might be the main concern, don’t ignore those other domestic, non-residential builds.
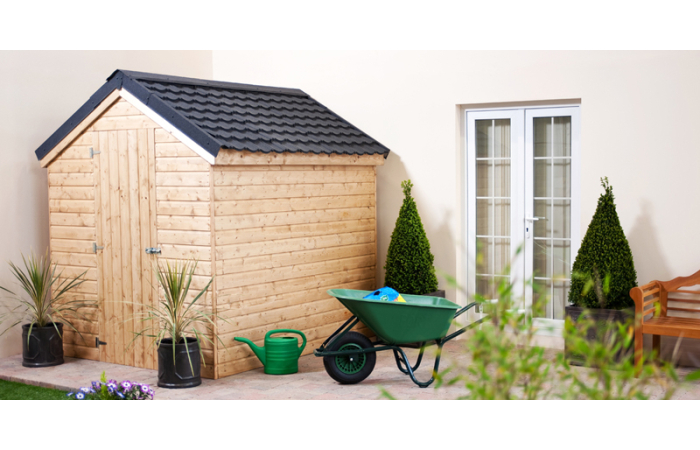
Sheds and outbuilding roofs aren’t the same as your house - they’re usually not insulated and the construction generally isn’t as solid.
Giving your garage and garden building roofs a quick once over before winter could save you a bunch of headaches (i.e time and money) once the cold weather really kicks in. Plus, it won’t take very long, so there’s nothing to lose!
Quick note: it goes without saying that this is general advice - always take proper safety precautions when inspecting any roof.
1. Clear off leaves, moss and other rubbish
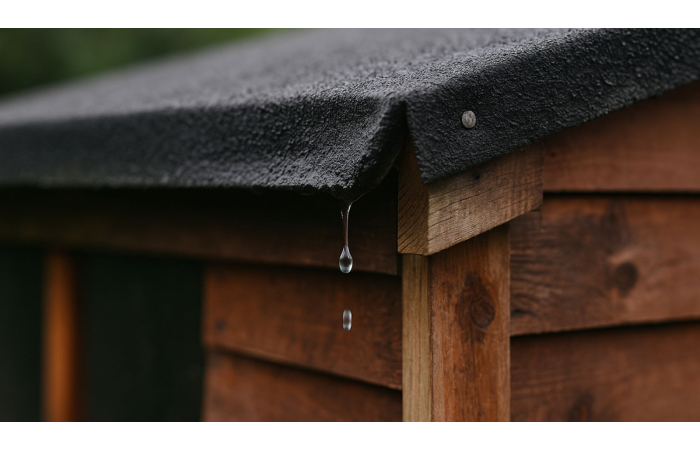
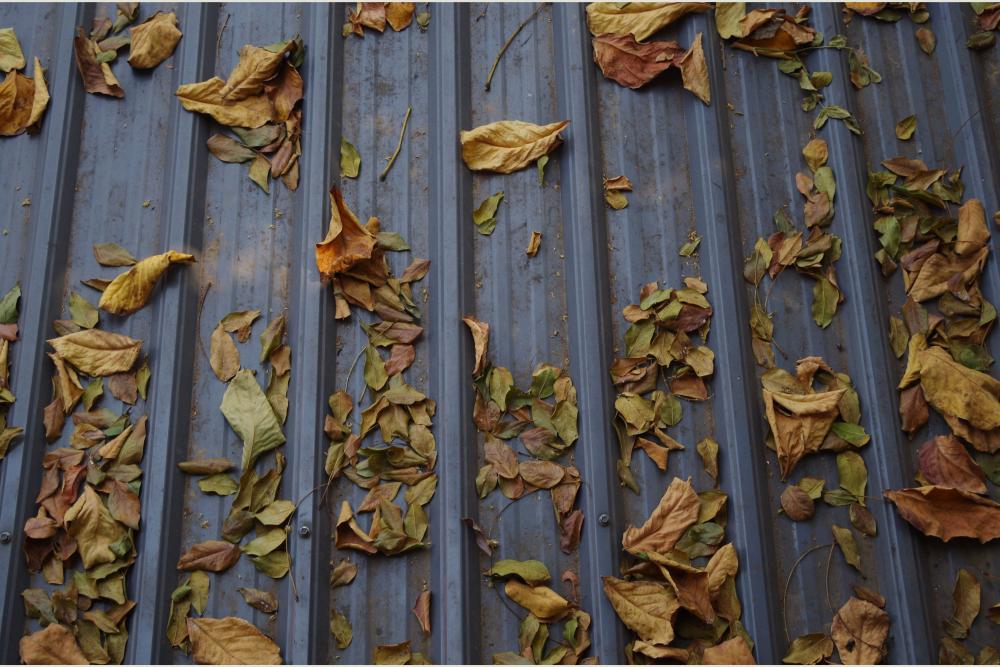
Damp debris keeps the roof wet for longer, which can speed up rot and/or rust. Blocked gutters can spill water back onto walls and into joints which causes similar problems.
Safely get rid of the rubbish and brush away leaves, moss and twigs from the roof surface. If there are gutters, scoop them clear.
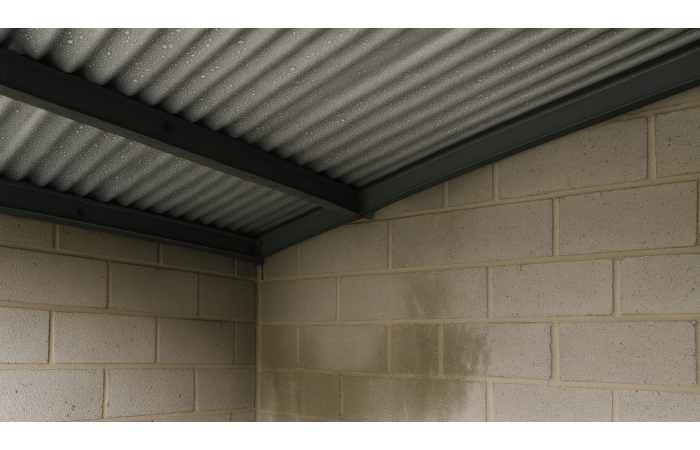
2. Check for loose fixings & lifted edges
The wild winter wind will find that missing corner fixing and come for your roof panels!
Take a look round the outside of the building and check how the roof covering is held down. Check for any edges that aren’t properly fixed down because fixings have lifted, rusted, cracked or fallen out and replace them.
A note on shed roofs that used self-adhesive felt or ones that are stapled – if you’re seeing lifting, now’s a good time to give it better reinforcement with nails. You can just re-glue, but staples are usually a cheap option that don’t hold up well in the long run and both fixing methods can be improved by adding clout nails for extra stability.
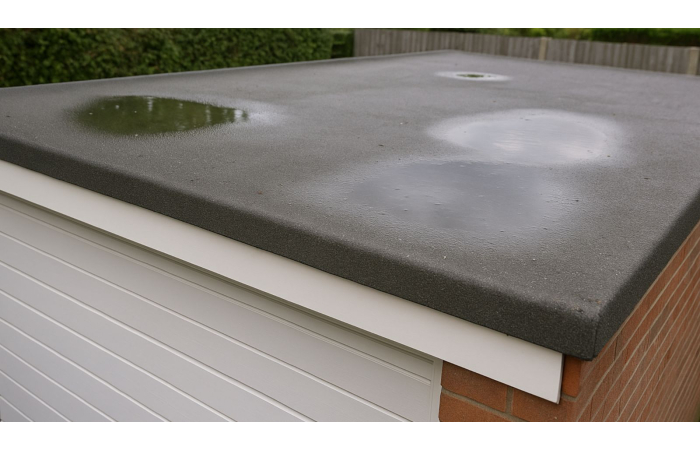
3. Check the general surface of the roof covering
Edges are the first step. You also need to see if the overall cover is generally still in good enough condition. Different materials fail in different ways:
- Felt: Tears, cracks, or bubbles where it’s lifting.
- Bitumen/metal/fibre-cement sheets: Rust at edges, brittle corners or gaps where sheets overlap.
- Polycarbonate or glass: Cracks, chips or cloudy patches between the layers.
If you've got a minor leak or small split, check out some quick DIY fixes for shed roofs here or patches for common garage roof issues here.
If you’re noticing more than a little tear or hairline crack, or you’re seeing significant bubbling and lifts, you might well need to replace the whole thing (and ideally before winter really hits).
4. Check inside - twice
You should do 2 checks inside.
First, during the day (but in the dark) take a close look at the corners and along the underside of the roof decking/support.
You’re looking for any cracks or slivers of light that weren’t obvious from the outside. Then with a torch or with the main lights on, do another look round the same areas and check for any stains/mould or damp. Also note if anything smells more musty than usual.
If you’ve got mould and damp but can’t identify an obvious leak, it’s likely you’ve got a ventilation issue and condensation is the culprit. You'll need to address this properly or the issue will never resolve and you'll keep having problems.
Check out more about preventing condensation in sheds and how to ventilate a garage here.
5. Do a general clear-out of the surroundings
You’ve cleared off the main offenders from the roof itself but it’s also wise to do a general clean-up of anything that might cause future problems.
- Cut back branches hanging over the roof.
- Make sure drains aren’t clogged.
- Clear soil, leaves or gravel piled against shed or garage walls.
Where to next?
And that’s it! It's easy to put these kinds of jobs off but a half hour of time could be the difference between a quick fix and whole lot of hassle. If you do need to replace anything or you want more roofing guidance, check out the links below.