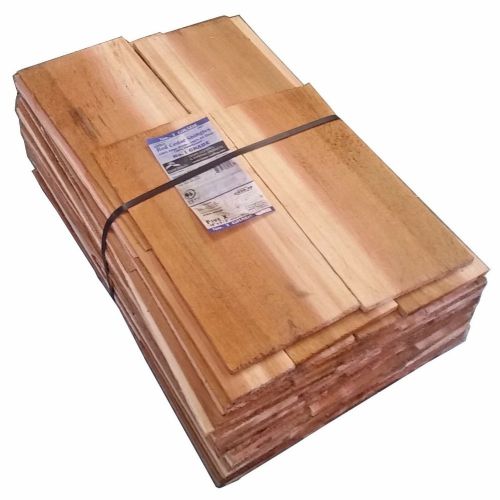
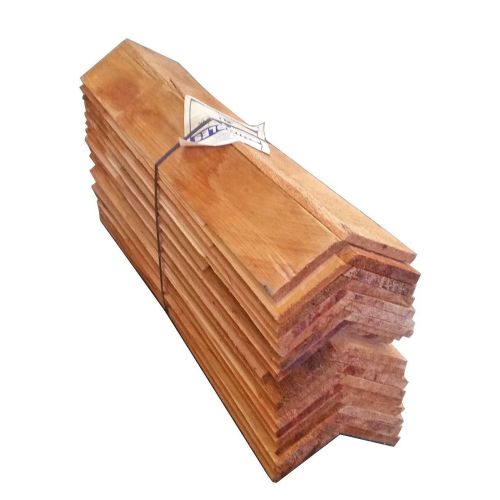
Cedar Shingles
Cedar roof shingles are a beautiful, natural and durable roofing material that can also be used to clad the exterior of a building. They are manufactured from unrefined cedar, which is then crafted to provide character whilst withstanding all weather...


Frequently Asked Questions
How to Install Cedar Shingles?
It’s often said that cedar shingles require specialist installation. They’re actually quite easy to install yourself, as long as you’ve got the right tools!
Step 1: Underlay
- If you’ve got non-breathable underlay
Install continuous rafter roll, over fascia ventilator and felt support tray. This should provide ventilation below the underlay and into the roof space. Then, dress the underlay down to the bottom edge of the support tray and fix using self-adhesive tape.
- If you’ve got vapour permeable underlay
If your underlay is vapour permeable, you shouldn’t need a continuous rafter roll. First install the felt support tray and fix the over fascia ventilator between the underlay and the shingles. Then, dress the underlay down to the bottom edge of the support tray, behind the over fascia ventilator and fix using self-adhesive tape.
Step 2: Battens
- If you’ve got non-breathable underlay
There’s no need to counter batten non-breathable underlay. The first batten’s position should be the batten gauge plus half the batten’s thickness. Thereafter, the batten gauge depends on the roof pitch.
- If you’ve got vapour permeable underlay
Vapour permeable underlay requires counter battening for adequate ventilation. As above, position the first batten based on the batten gauge plus half the batten’s thickness. Then, the gauge depends on the pitch of the roof.
Step 3: Setting Out
When you’re beginning the first course, it’s vital to ensure that there’s an overhang of at least 38mm at the verge, as well as 38mm at the eaves. Make sure to maintain a double course at the eves as well as a broken bond pattern, which means each shingle is centred on the join of the two below.
Step 4: Fixings
Cedar shingles should be fixed twice with either nails or staples, positioned 19mm from the edge of the shingle, and 28mm up from the butt of the course above.
Step 5: Installation
As the roof battens will be hidden by the underlay during this process, it’s helpful to outline the position of the battens using chalk or marker. This will help you fix the wood shingles in the correct place. Continue to maintain the broken bond pattern and leave a 5mm gap between each shingle.
Step 6: Ridges
Once you’ve installed courses of shingles all the way up to the ridgeline, you’ll need to cut the shingles to maintain your 125mm gauge. As wood shingles are easy to work with, this can be done either with a hand saw or even a Stanley knife.
Step 7: Final touches
Try to use a uniform gauge at the ridge, matching the gauge of the shingles. To save time, consider using pre-formed hips and ridges.
How Long Do Wood Shingles Last?
If correctly installed and maintained, a wood shingle roof can be expected to last up to around forty years before requiring replacement. You can ensure a longer lifespan for your Cedar shingles by undertaking regular maintenance. Ensure that the roof is kept free of debris such as moss or algae, and clean any excess out of your guttering.
Do You Have to Treat Cedar Shingles?
Ordinarily, cedar shingles need to be treated every 4-10 years, or as often as every 3-6 years in more humid climates. Cedar shingles require treatment once you can see they’re turning grey. Thankfully however, we also provide a pre-treated range of cedar shingles. So if you choose these, there should be no need for treatment across their 40 year lifespan.